Jump To Section
- Making the First Cut to Create the Wound’s Shape
- Using a Black Sponge for Smoothing
- Making Small Cuts
- Don Lanning‘s Favorite Tool
- Creating Shadow Detail For Wounds With Cuts
- Burnishing Around the Wound
- Coming Up With the Story of the Wound
- Imagining the Impact Point and Adding Clay
- Adding Details to Your Wound
- Making More Wounds
- Creating a Proper Gash
In this excerpt from "Sculpture Techniques - Textures & Forms," master creature effects sculptor Don Lanning (Star Trek: Beyond, Hellboy, Bright) reveals his highly effective approach to sculpting wounds and gashes with clay. Starting with carving the rough shape of a wound, Don then shows you how to create a swelling effect by using a loop tool to sculpt dimension around the gash, and then how to deepen the wound, add fat, and give a grotesque shine with lip gloss.
Making the First Cut to Create the Wound’s Shape
 (Don cuts a shape in the clay with his loop tool.)
With a confident hand, applying medium pressure to carve out the clay, first you draw on the clay where you think the wound should be, creating the basic shape.
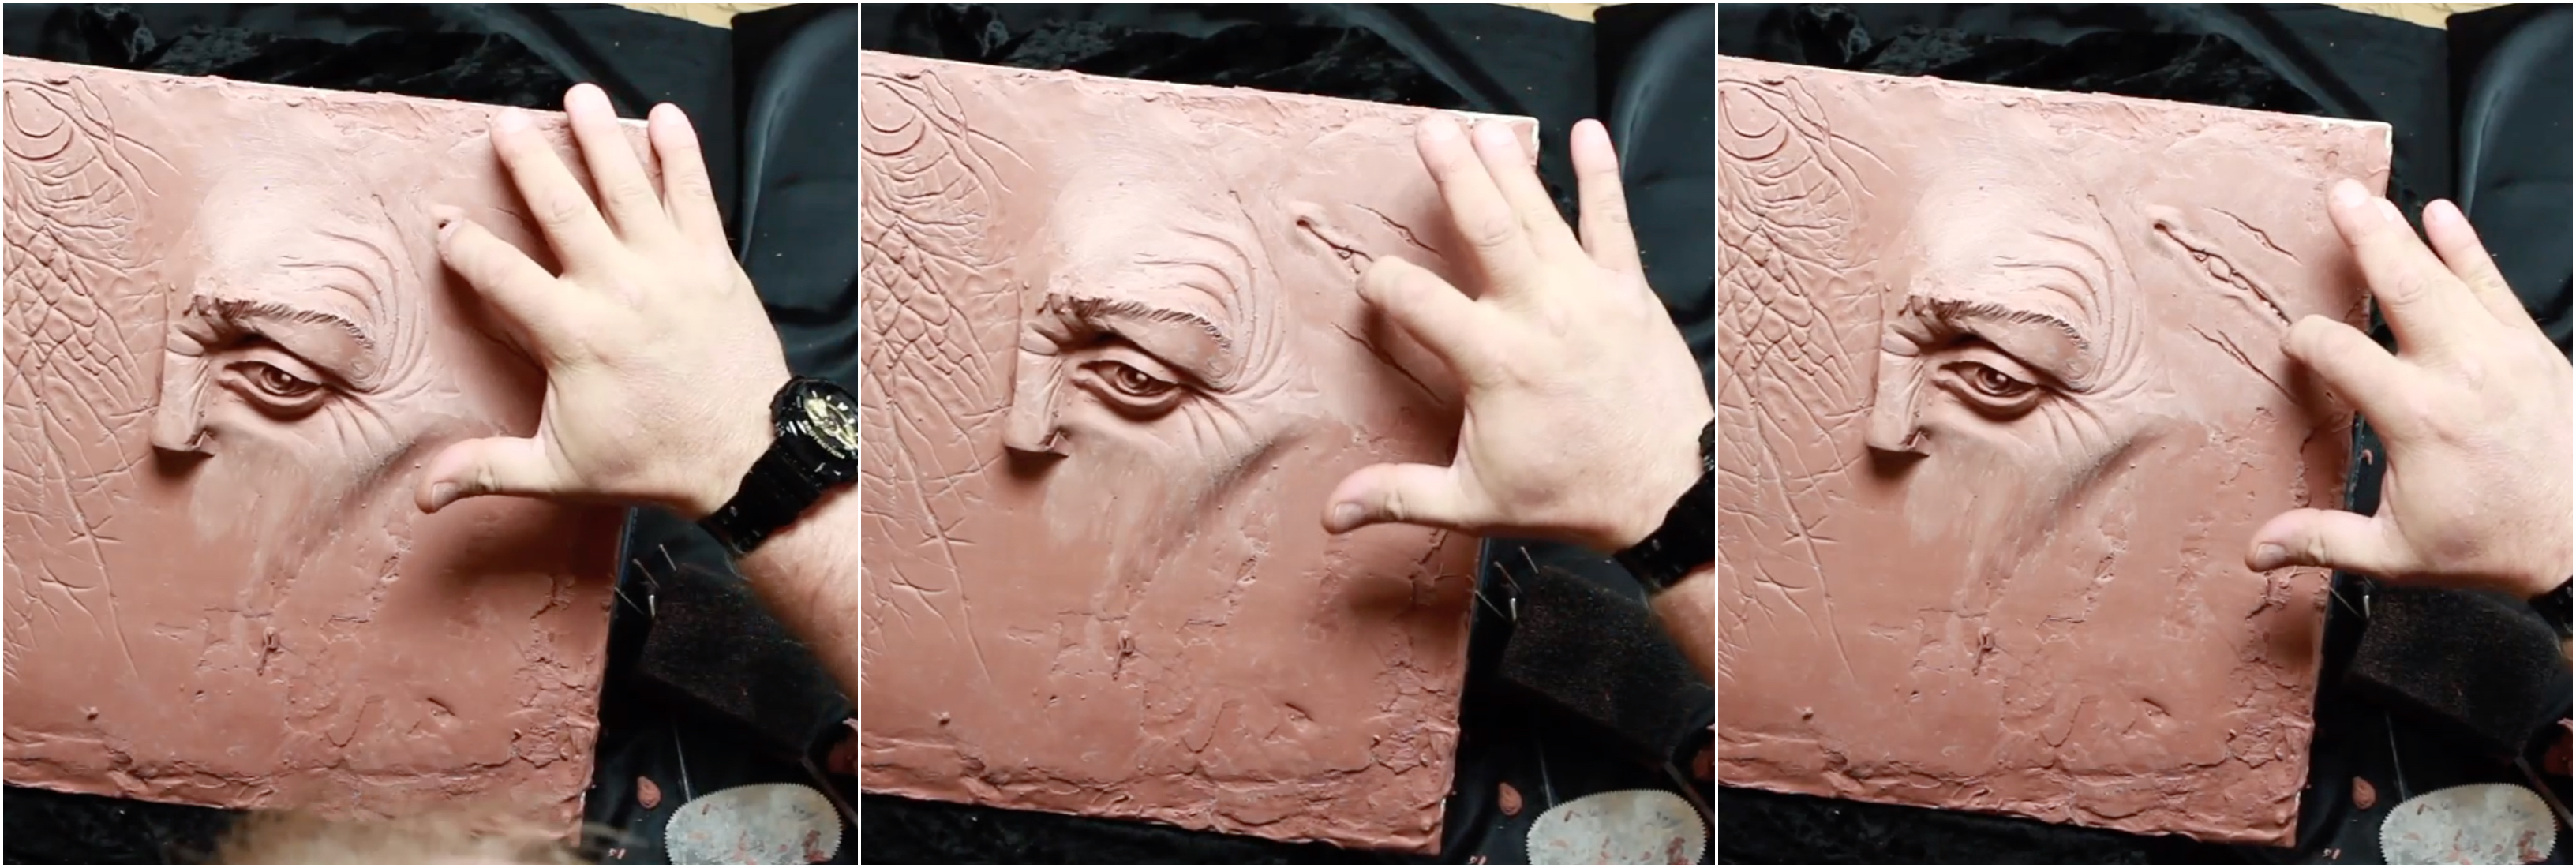
Using a Black Sponge for Smoothing
 (For smoothing, Don uses a porous black sponge made from reticulated polyurethane foam.)
The next step is to rough-up the trench you’ve made with the black sponge, burnishing the edges and taking them down a little bit. Resist the urge to make gory rough edges. When the skin is offended and a wound happens, the body wants to preserve itself. Almost immediately, the healing begins and the edges start to round in.
Making Small Cuts
 (Digging into the clay, Don adds additional gashes.)
Making additional smaller cuts above and below your main cut will give you a feel for the clay. As these secondary wounds emerge, you might imagine the source of the wound--a werewolf claw, perhaps, or Freddie Kruger’s bladed fingers dragging across the skin surface.
Don Lanning‘s Favorite Tool
 (Don indicates his favorite tool, a medium loop tool.)
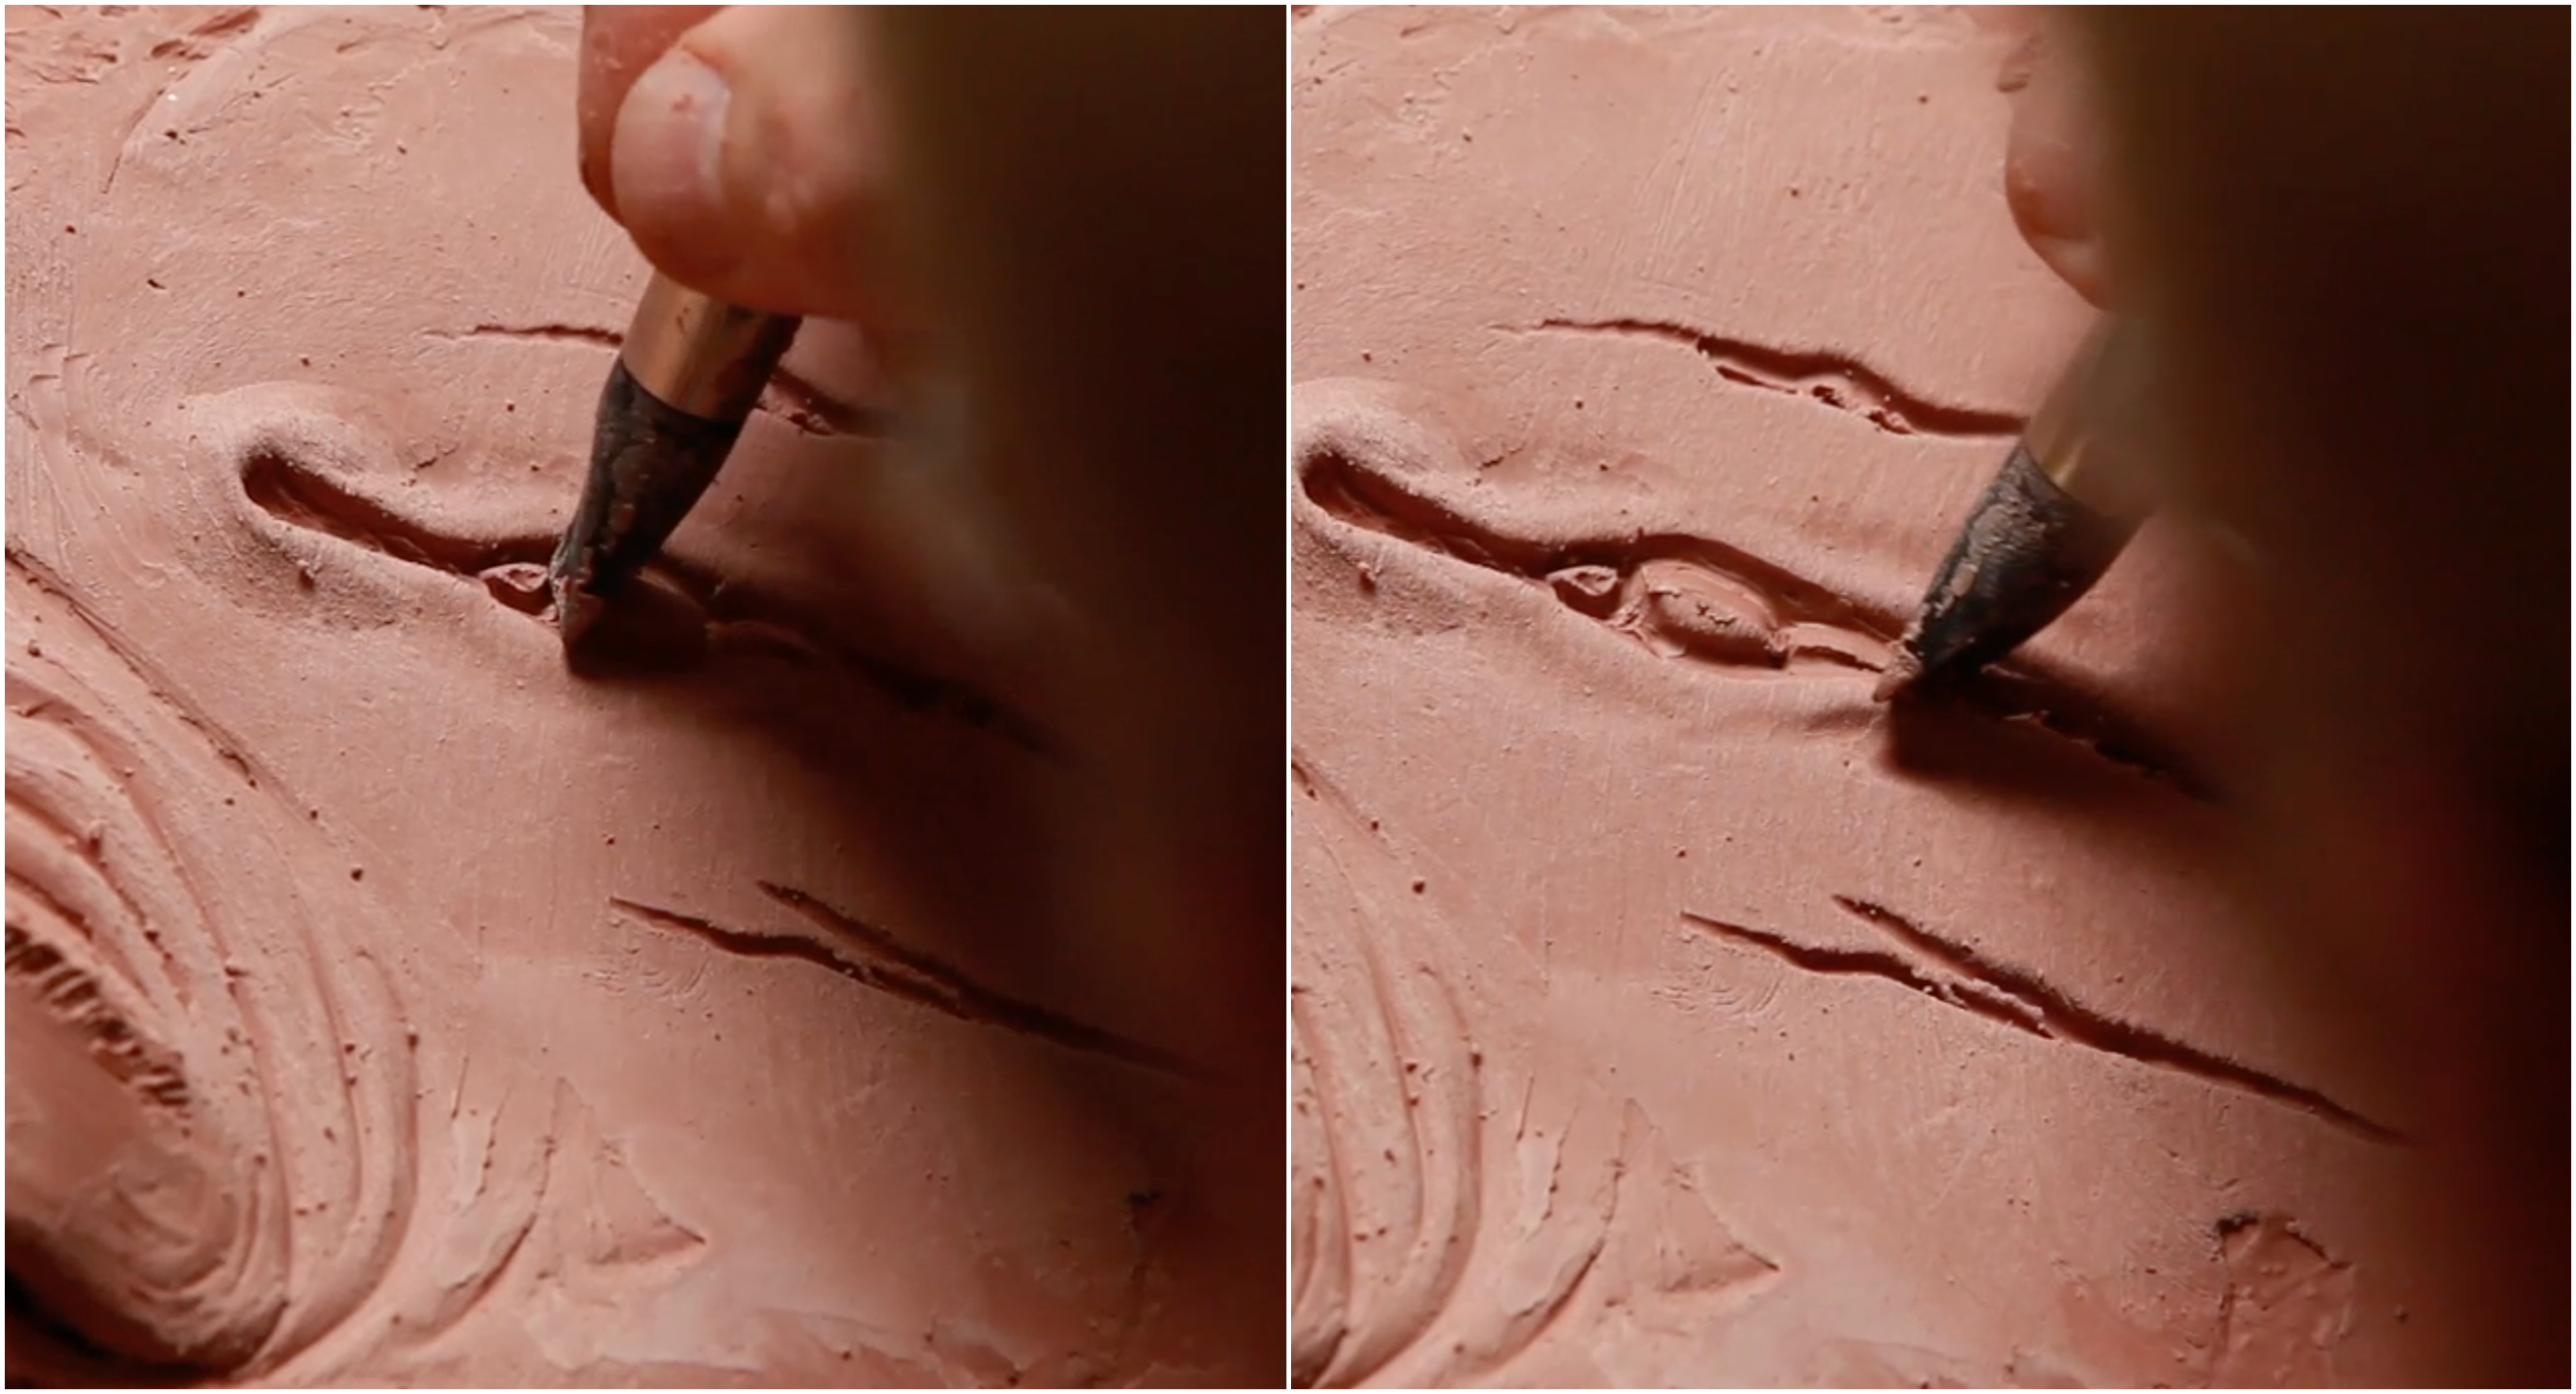
Creating Shadow Detail For Wounds With Cuts
 (Don carves a small trench outlining the wound.)
Travelling in the same direction as the wound itself that you just created, you lightly carve away a trench at the outer edge of where the cut is. Have a tremor in your hand. Don’t make it too mechanical. The emerging shadows on each side of the wound will sell the depth and give dimension and character to your sculpture.
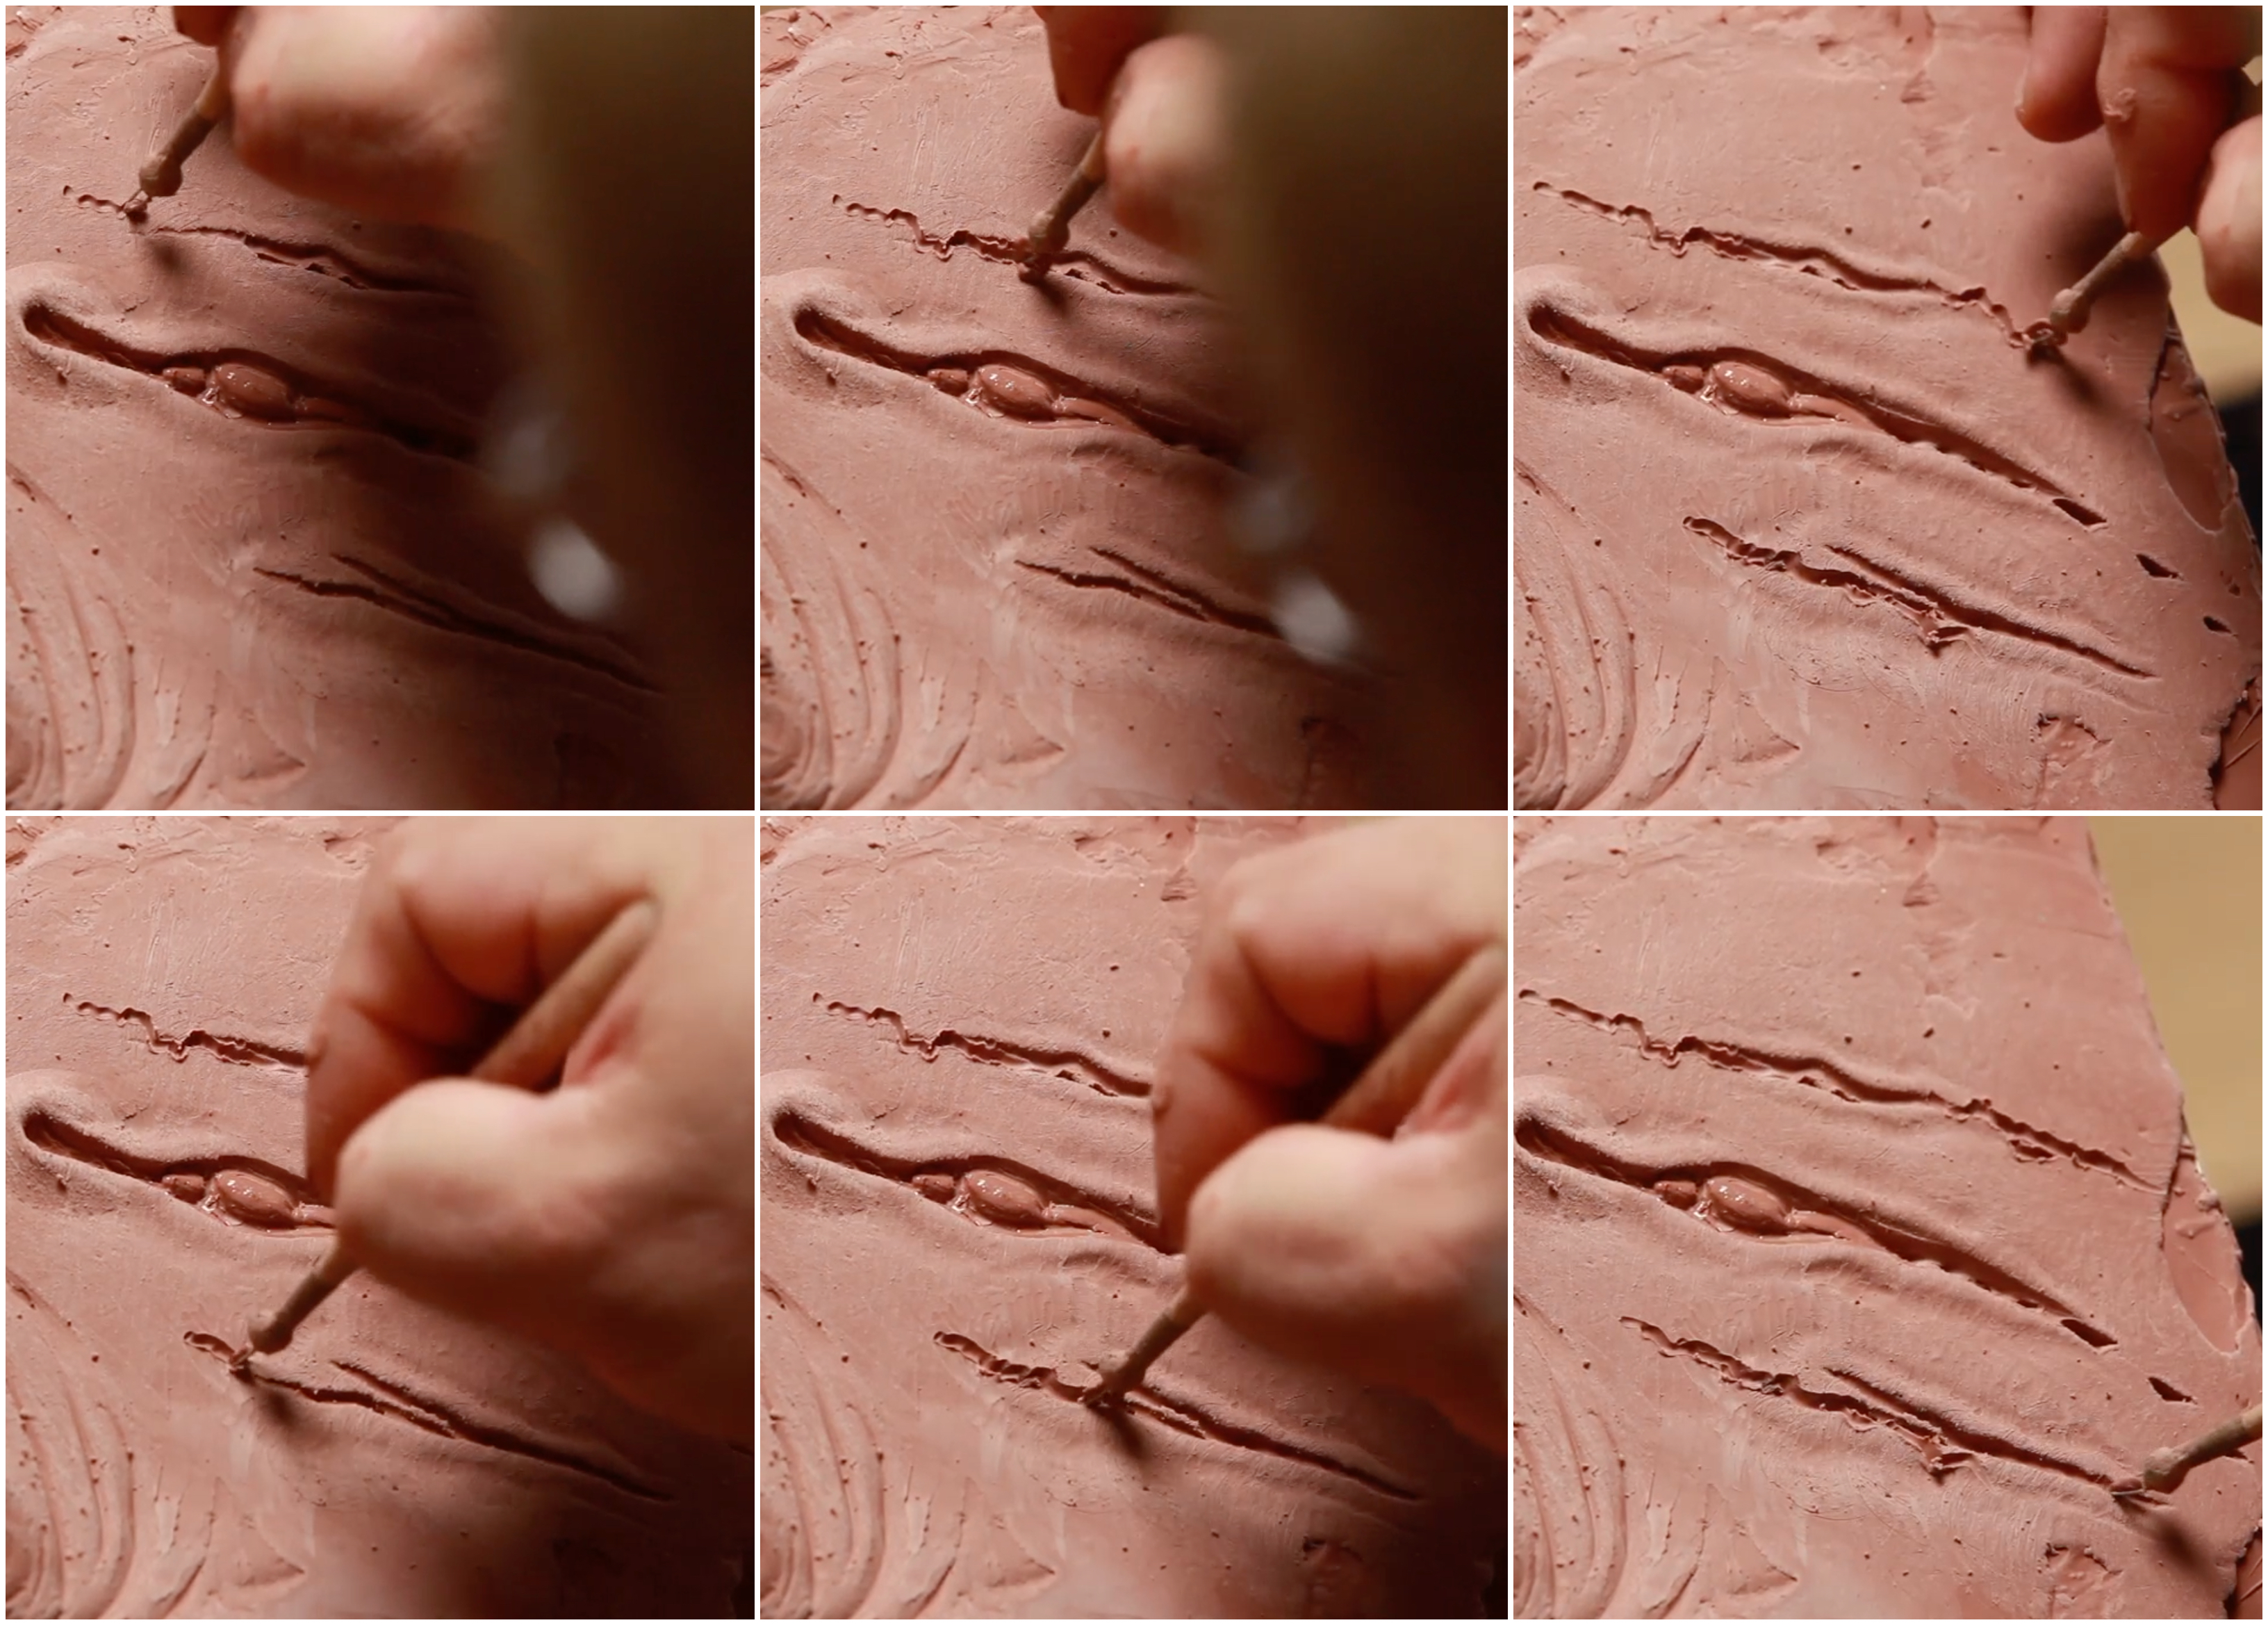
Burnishing Around the Wound
 (Don smooths the edges, fading out the sides of the trench.)
Make the new accent shapes level by going into the trench with the same tool and pulling out, away from the wound in very short strokes. Once this contouring on the top and bottom is complete, go back and burnish toward the wound, back into the trench, starting from the top and moving across on both sides. Now you’ll start to see a subtle light shadow you’ve formed around the wound. It seems alive, like the skin is swelling.
Coming Up With the Story of the Wound
 (Moving to a smaller loop tool, Don cuts the island inside the wound into little subdivisions.)
Now you can consider the story of the wound. Add deeper shadows in areas to create the effect of the skin puckering in response to being ripped open. Break up the big shapes inside to suggest meat and fat within the wound. Finally, add a few gouges to continue the path of the wound. Imagine the claw or knife exiting the main wound but still dragging into the skin.
Imagining the Impact Point and Adding Clay
 (Don rolls a bit of clay into a log, then bends it around in a horseshoe shape.)
 (Using his fingers, Don pushes the horseshoe of clay into place.)
Find where you imagine the impact point to be at the top end of the wound, and add a bit of clay material—a little horseshoe of clay. Applying gentle pressure, mash this shape down blending it into the clay, and thumb-burnish the shape for roundness, finally blending it in with a spatula. This is the impact point of the tearing edge. It has the look of an angry raised pucker at the entry point’s edge.
 (Don uses the spatula tool to add burnishing and rounding.)
The pressure of the spatula applied to the added material helps blend the clay in for an integrated effect. You can also use the spatula to accentuate the impact point.
 (Using his finger, Don traces the path of the wound, imagining the incident that caused it.)
Every cut, gash or puncture would tells a story. If you create your sculpture with that story in mind, the end result is not only likely to look better, instead of just sculpting a shape you’re creating a character, telling a story.
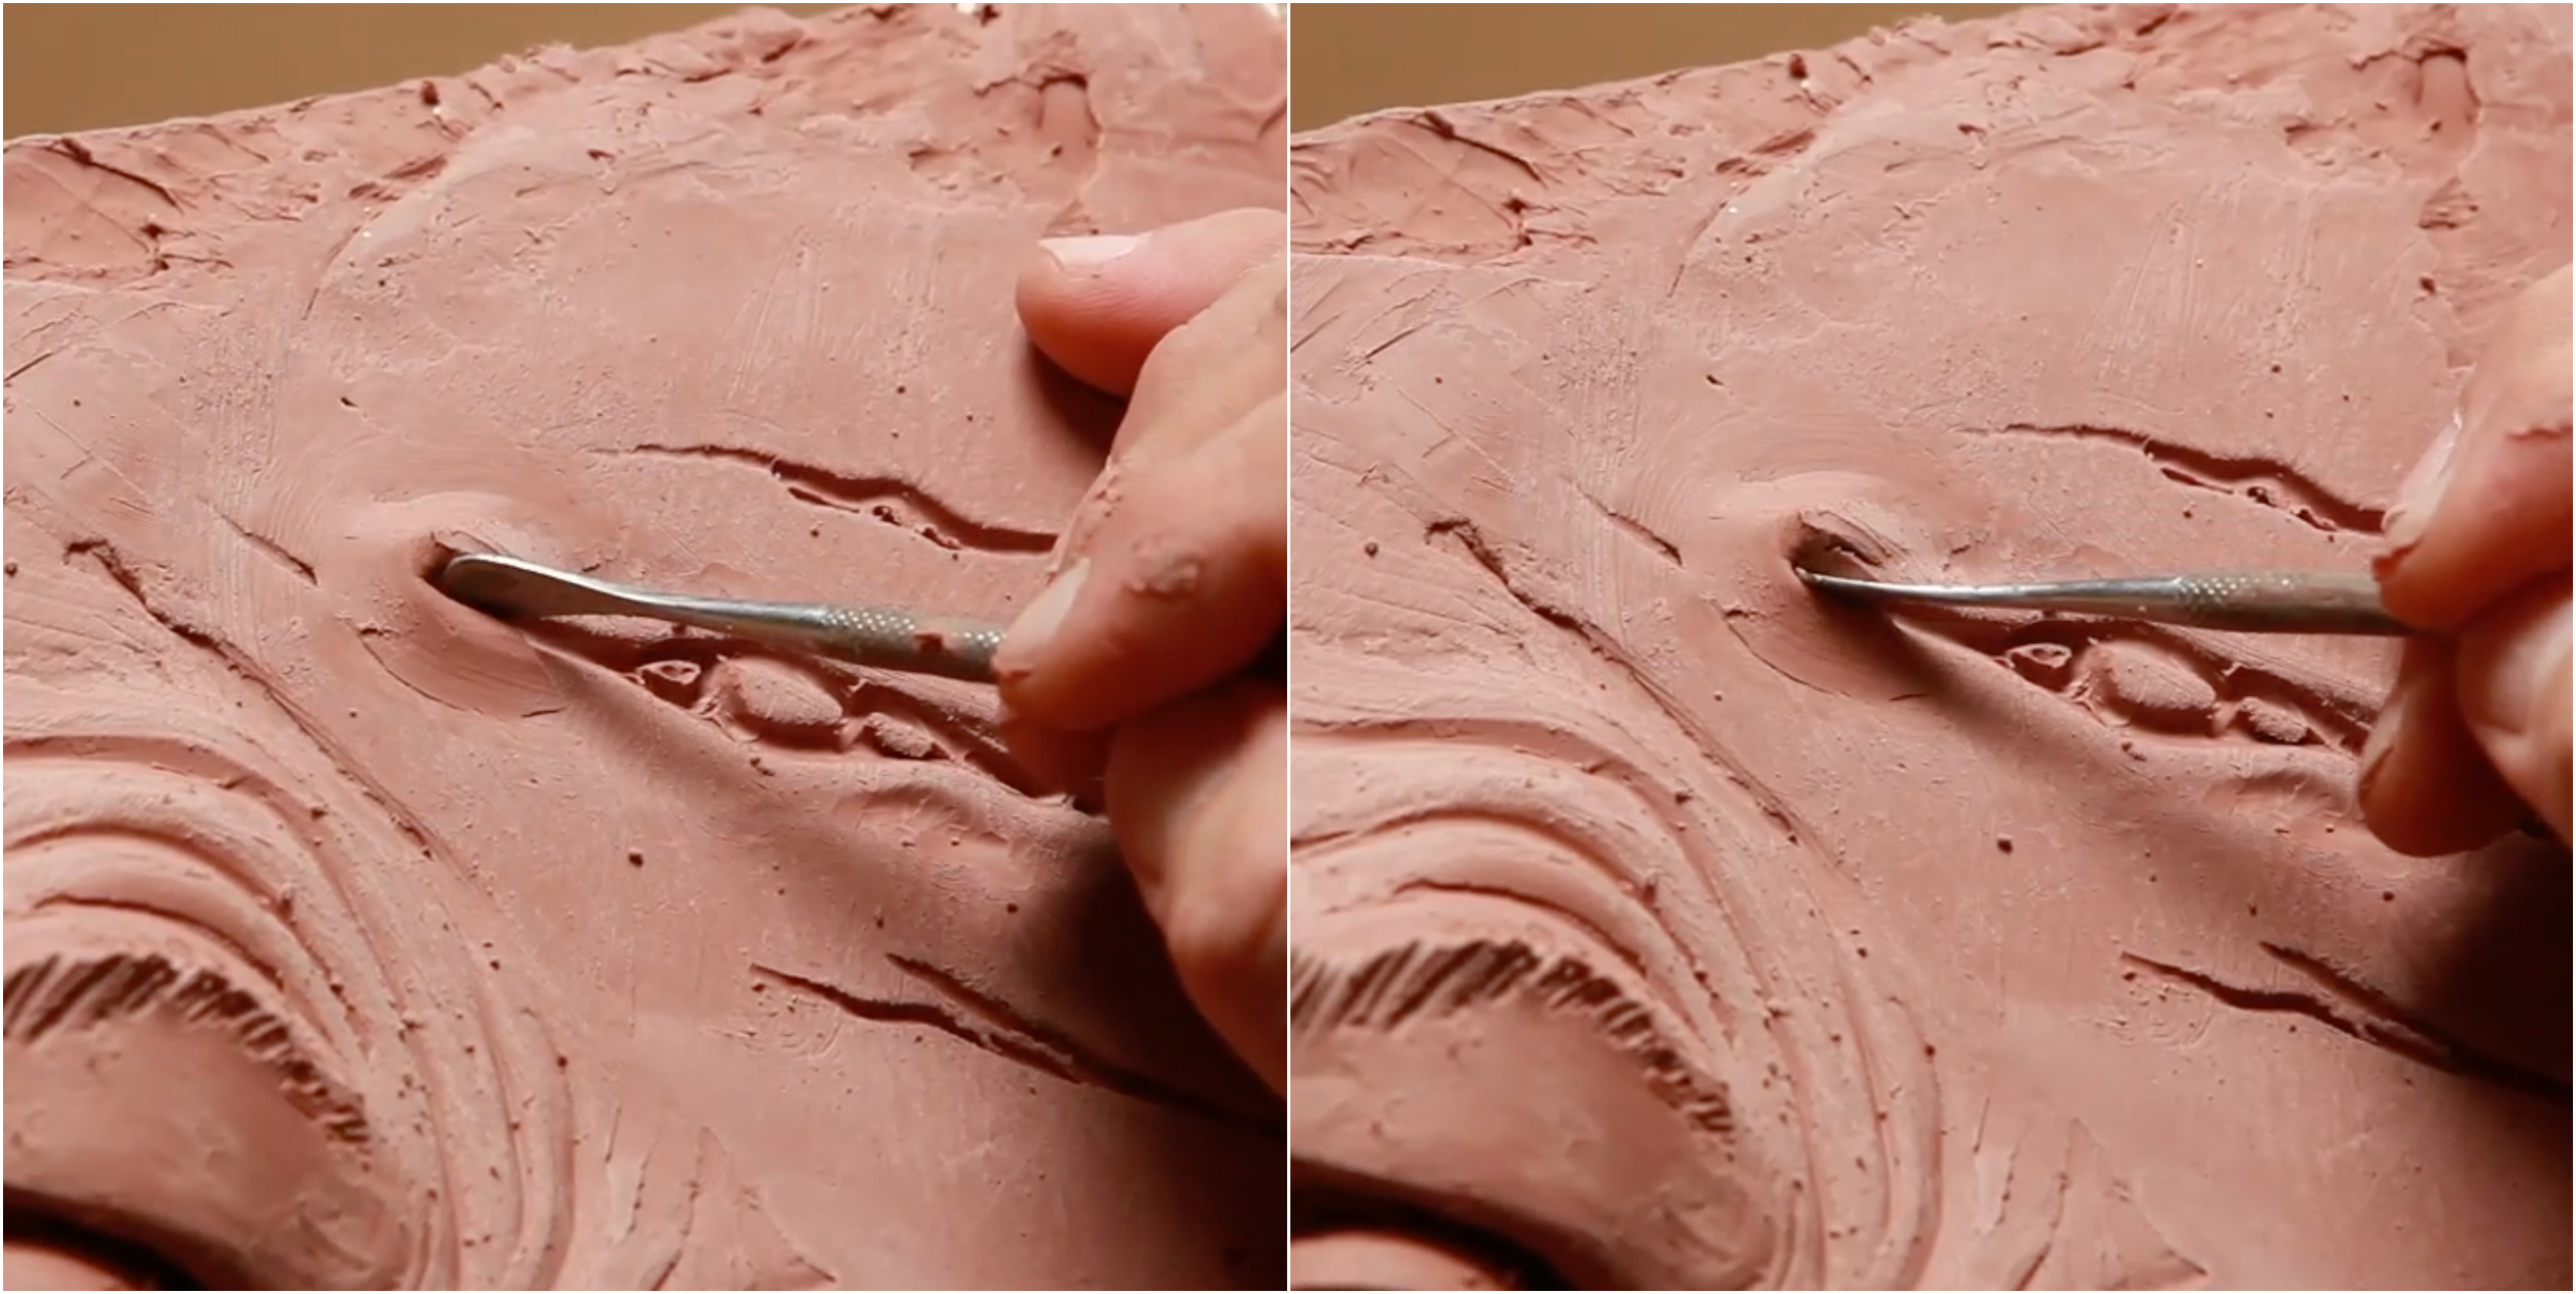
Adding Details to Your Wound
 (Don uses a rubber-tipped tool to calm down the “islands of flesh” inside the wound.)
Adding subtle detail can help create an impression on your viewer. You can give a little extra dressing to the sculpture by applying some cool effects. First, using a rubber-tipped tool, smooth the edges inside the wound removing any bits of clay or rough spots.
 (Don brushes a bit of MAC lip gloss into the wound.)
Then, apply a bit of moisture down into the wound using a brush with some shiny lip gloss. This moisture gives the wound a nasty, suppurating feel. It’s a simple effect that adds to the storytelling, speaking of the wetness down inside the wound.
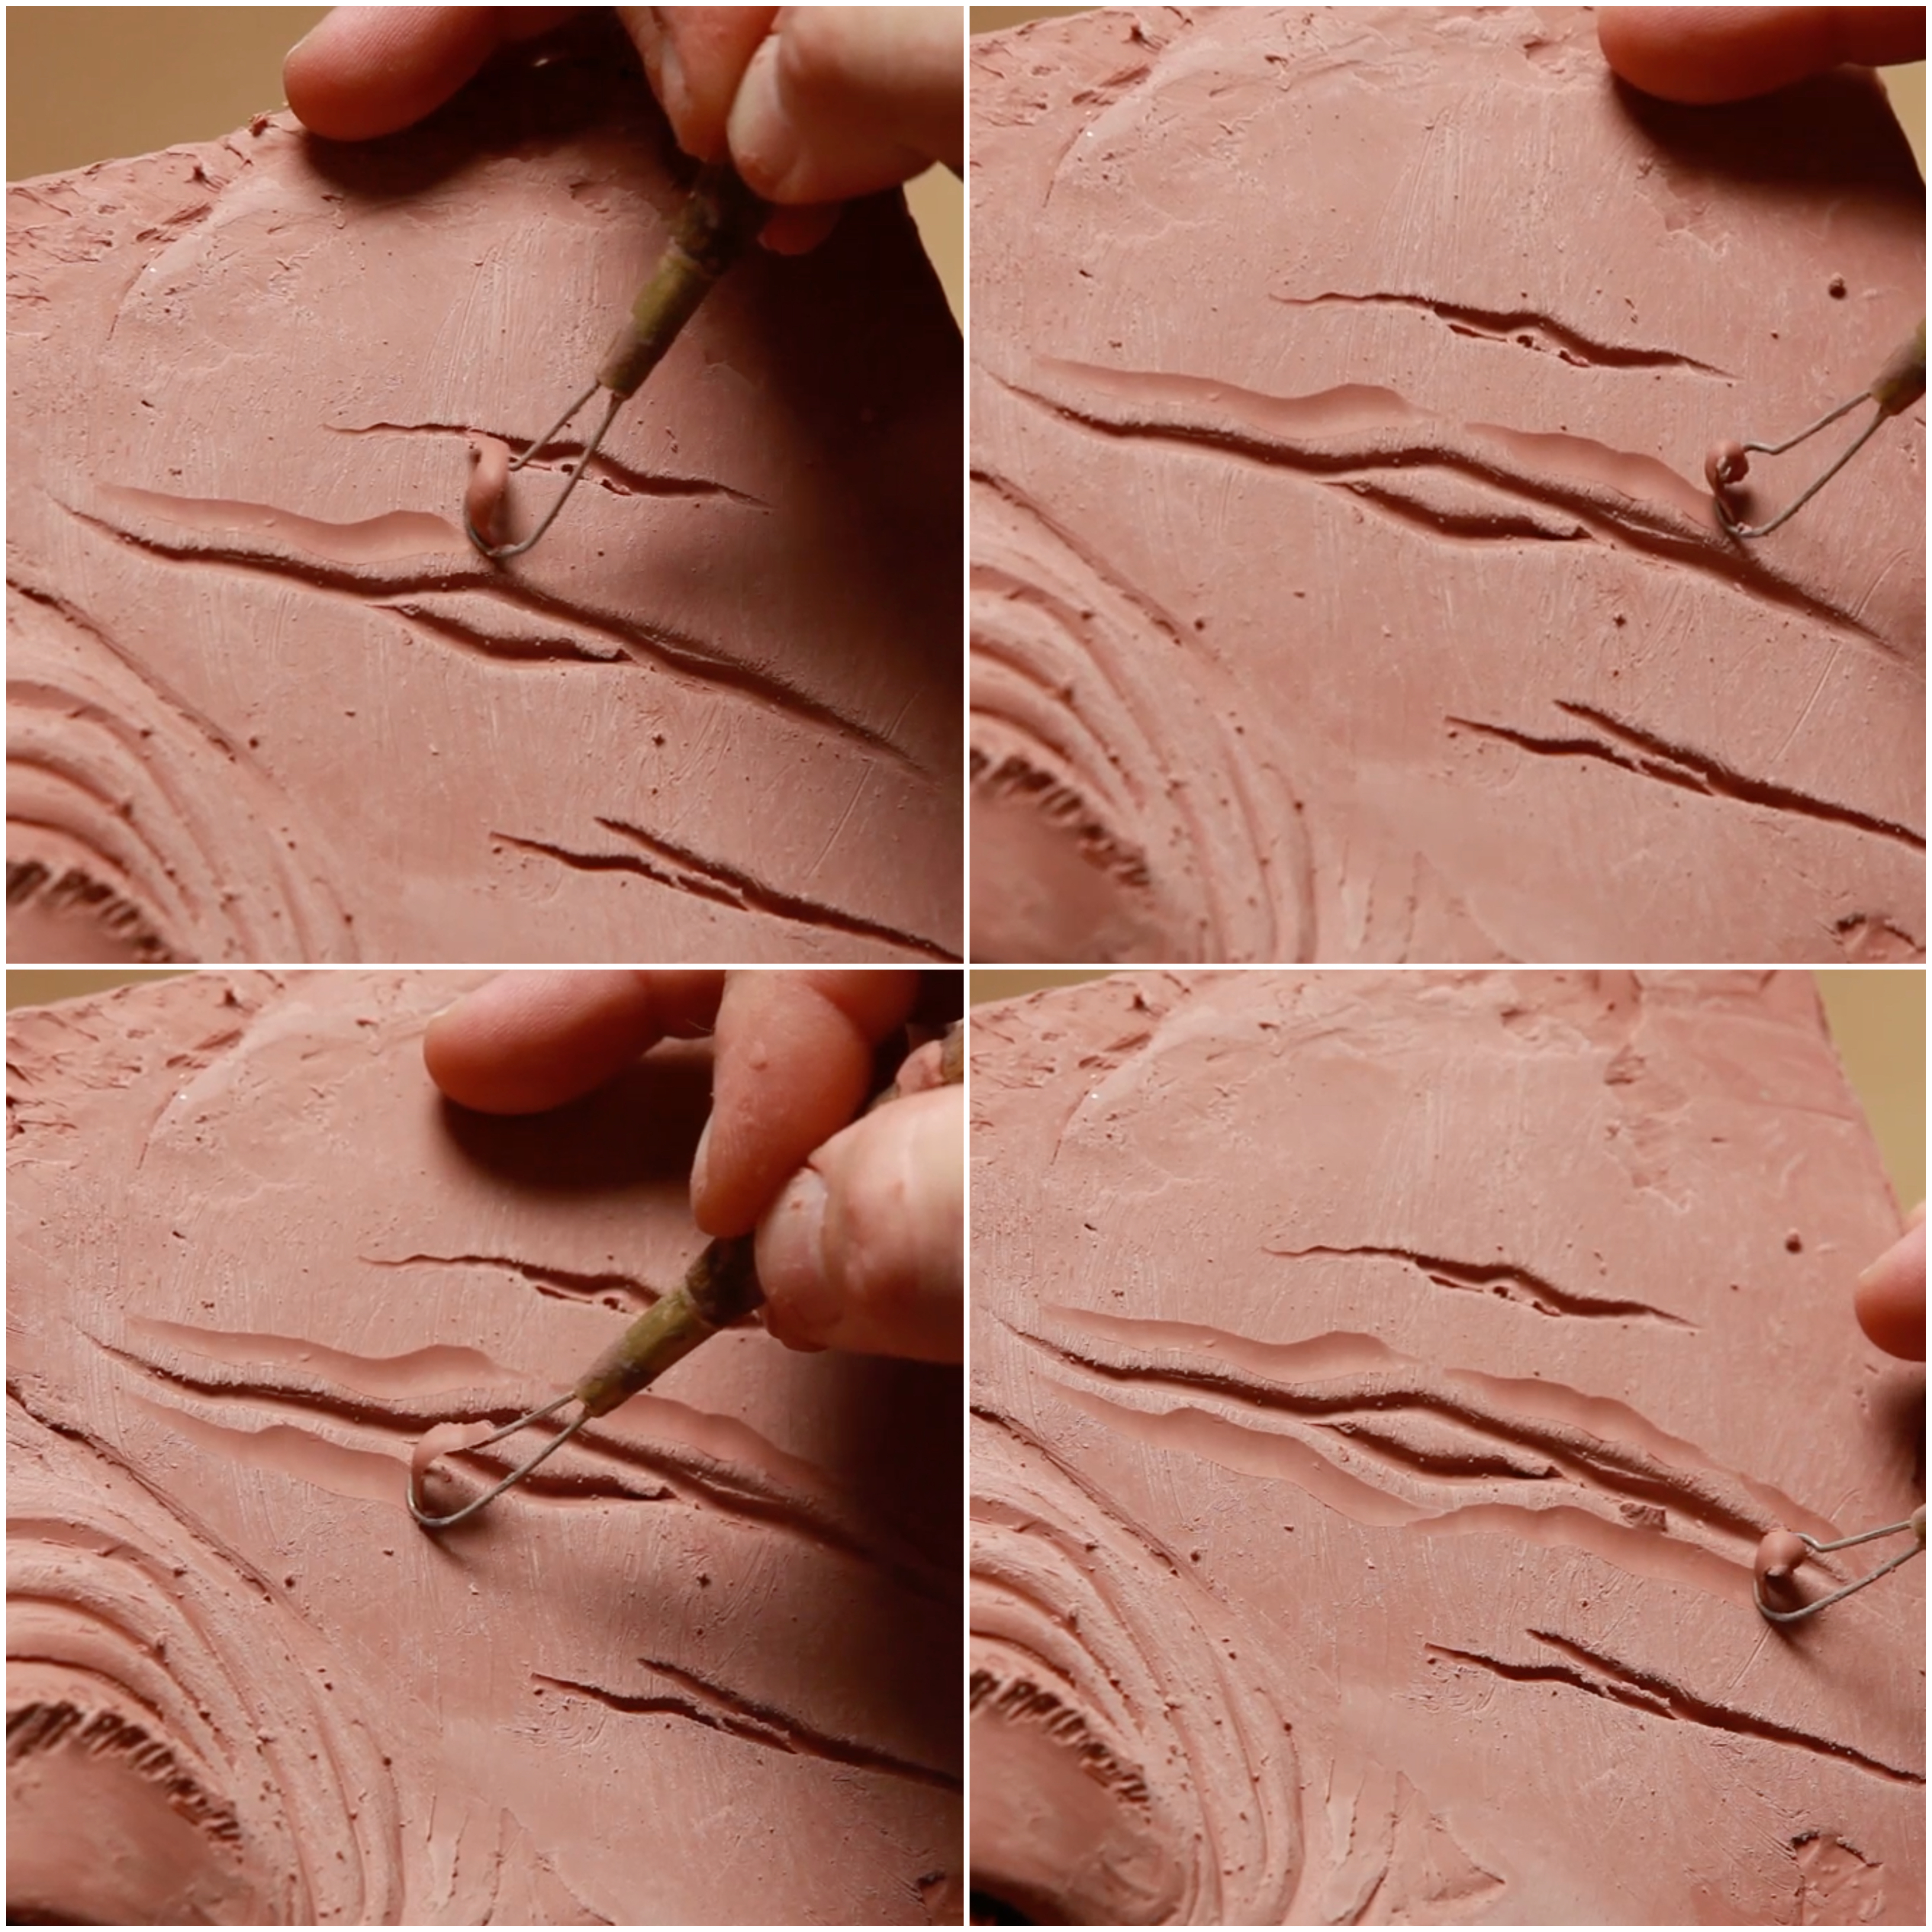
Making More Wounds
 (Don repeats his technique, tracing divots in the clay.)
 (Then burnishing the surface.)
 (And finally, he extends the cuts with a sculpting tool.)
Once you’ve completed dressing your first wound. Repeat the process, getting comfortable with the technique and varying different aspects. Think about the shadows that show the offense happening to the torn skin. Keep smoothing and burnishing giving a rounded shape to the shadows.
Creating a Proper Gash
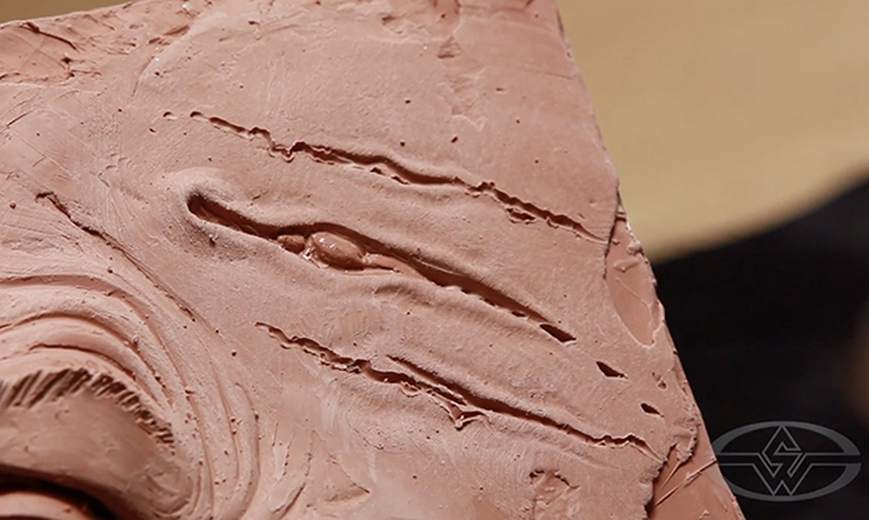
 (The completed sculpture.)
Some scars never heal, but the attention to detail in the clay now gives these wounds a life—not just lines etched on a flat surface, but punctured, torn, living skin with its swelling and suppuration.
As Don says, “It’s a simple technique, easy to do, and it has such a high value.”
More COURSES with Don Lanning
CHARACTER DESIGN - MAQUETTE SCULPTURE TECHNIQUES 1
CHARACTER DESIGN - MAQUETTE SCULPTURE TECHNIQUES 2
CHARACTER DESIGN - MAQUETTE SCULPTURE TECHNIQUES 3