How to Write your Journal Article and Free your Inner Imposter

Hello, imposter!
Oh, I’m just kidding—you aren’t really an imposter. And that’s part of the problem.
You’re trying to write your journal article, right? You’re sitting in front of your blank screen with its blinking cursor, writing a sentence, hating that sentence, rewriting the sentence, ad nauseum…until a sinking feeling sets in: the feeling that you have no idea what you’re doing.
Don’t feel embarrassed.
The truth is, most of your science and engineering peers wrestle with writing, too. Your writing struggles don’t make you an imposter. They make you perfectly normal.
But just because your writing struggle is normal, that doesn’t mean it’s acceptable. You must learn to write if you want to survive academia.
Well, I’m here to help. We’re going to dig deep into your soul, conquer your writing struggles, and unleash your writing strength! And in a world of struggling writers, that will make you a true imposter.
Now, I know what you’re thinking, “Look, Thomas, I just came here to find a journal article template. I don’t want to be an imposter. I don’t need to unleash my writing strength.”
That’s where you’re wrong, friend. Because until we fix your broken writing process, you’ll keep struggling to finish your journal article. You need more than just a good template. So, here’s what we’re going to do:
We’ll start by uncovering why you struggle to write.
Then, to help you beat that struggle, I’ll introduce four valuable writing techniques.
Last, I’ll show you how to use those techniques to write your journal article. (And, yes…there will be a template.)
We’re going to transform you from a timid amateur into a confident professional. Once we’re done, you’ll return to that blank screen with its blinking cursor, laugh a deep and villainous cackle, and wonder why writing a journal article ever felt so intimidating.
In this Article
Part One: Why you hate writing and what to do about it
Your writing is for your readers
You are a professional writer
Writing is hard for everyone
Writing is a craft that can be learned
You are responsible for your own writing training
Your goal is competency
Part Two: Four techniques to jumpstart your writing craft
Start with structure
Make one point
Focus on paragraphs
Write and edit separately
Part Three: A step-by-step guide to writing your journal article
Outline the project
Outline the paragraphs
Write the sentences
Edit the draft
Send it to your co-authors
too long; didn’t read?
Download my guide on Writing a Journal Article
Part One
Why you hate writing and what to do about it
This article is all about how to improve your writing skill to help you finish your journal article. And that means we’ll discuss some concrete tools for doing just that. But we cannot just launch into practical writing tips without digging into your relationship with writing first.
Maybe you hate writing. Maybe you struggle to find the words. Maybe you see writing as a boring but necessary task. Or, more than likely, you suffer from all three of these hurdles plus more that you’re unaware of. You won’t become a better writer until we reveal these barriers so you can deal with them.
So, consider this part of the article as a writer counseling session. Make yourself comfortable. Grab a box of tissues. And let’s dig into the heart of writing and talk about what makes it so painful.
Your writing is for your readers
Let’s start with a simple question:
Why do you write?
There’s an obvious answer to this question. You write to communicate. You write for your readers.
But is that really why you write?
If you’re like me, the more honest answer is that you write to impress others. You picture yourself writing an amazing journal article. Then your supervisor responds with, “Wow, this kid really knows what she’s doing!” And you steadily build your research authority.
But when you aim to impress others, your writing suffers. You overinflate claims. You ignore limitations. You write defensively. And you disseminate your ideas by employing the verbose and complicated language of the academician, which lends your writing an air of formality and authority, but ultimately bewilders your audience. Your readers will not be impressed, but confused.
These actions also fuel your imposter syndrome. Your overconfident, defensive, long-winded journal article morph your project into something more impressive than it really is. You know this. But others don’t. And when you defend that overly-confident work, you feel like an imposter.

“The author of my research study employs authoritative language to defend his ego against the combative feedback of his peers.”
Don’t worry, though—you’re not alone here.
I remember my supervisor’s edits from my first journal article. Lots of red ink. Lots. And my first reaction was to feel wounded. I had put so much work into it. But the feedback focused on the errors that needed to be fixed. I couldn’t tell if I was disheartened or indignant. But I certainly felt some sort of injustice. Did something I worked so hard on really merit so much criticism?
Academics are trained to give this kind of criticism. We ask questions, find truth, and push for a better version of that truth. This process advances science. But it also surrounds us with critics. And it’s easy to take the criticism personally. So, we all feel the urge to defend ourselves—often through overly-impressive writing.
But criticism is rarely an attack on us. It’s often a sign of curiosity. People are interested in your work. They want to make it better, to help it succeed. So, they critique. And if we can subdue our emotional response to those critiques, then we can use that feedback to improve our work.
When someone gives you criticism, receive it optimistically. Ignore your defensive instincts. Fight the urge to use your writing to impress your critics.
Instead, remember that you are writing to communicate with your readers. Embrace criticism and use it to make your work better—your readers will thank you.
2. You are a professional writer
That idea may surprise to you.
You’re probably thinking, “I’m a scientist not a writer.” Not true! You’re a scientist and a writer. And until you accept that, you’ll underestimate writing’s value. And your work and career will suffer.
In many ways, this isn’t your fault. As a science and engineering researcher, you work in an environment that esteems technical training above “soft” skills like writing.
Because of this, you abandoned your writing training years ago to focus on your technical training instead. Consequently, writing has become a necessary evil; something to struggle through and finish, but not something to improve on.
This way of thinking undervalues writing. And if you believe it, it will stifle your career.
Here’s a simple question to prove my point: Where would your work be without writing?
Sure, you could continue your scientific experiments. You could dabble in the lab and chance upon some interesting discoveries. But how would you tell anybody about it? How would you fund it?
You wouldn’t.
And for that reason, writing is vital to your work. Journal articles, grant proposals, conference abstracts, white papers, scope-of-work outlines, and other documents support and communicate your research. Sure, the science comes first; without research you have nothing to write about. But your writing skill may make the difference between an accepted or rejected conference abstract, a funded or denied grant proposal, a top-tier or average journal publication.

“Oh, I’m a scientist, not a writer.”
It’s time for you to take these implications seriously. Writing is essential to what you do. So you might as well try to get better at it.
3. Writing is hard for everyone
Yes, writing is hard. That’s the truth. And I’m really sorry about it. After all that work of convincing you that you are a professional writer, it’s a bit of a slap in the face.
But it’s so important to acknowledge this hurdle. Because you will struggle to write. And you’ll be tempted to think that there is something wrong with you.
Here’s what’s wrong with you: Nothing.
Writing is just plain difficult. Ask a professional writer. Or—since this is an article and not an interview—consider these professional writers’ quotes:
"A writer is someone for whom writing is more difficult than it is for other people."
"I am irritated by my own writing. I am like a violinist whose ear is true, but whose fingers refuse to reproduce precisely the sound he hears within."
Everyone in your research group, in your department, in your institution struggles to write. And, just like you, they’re all afraid to admit that struggle.
But why?
Because, compared to our technical training, we scientific researchers view writing as a “soft” and inferior skill. So, we expect it to be easy. But it’s not. And when we struggle with this “inferior” skill, we feel embarrassed because we assume that our colleagues have all mastered it.
This embarrassment makes us question our competency: can we really become a good researcher if we struggle so much to write a conference abstract? It makes us feel like an outsider: everyone seems to have writing figured out, except for us. Worst of all, it makes us afraid to ask for help.
I have a solution.
From now on, when we introduce ourselves at meetings, instead of each person giving a five-second overview of their research topic—or a five-minute overview for that one guy who thinks his works is more interesting than it really...yes, Harry, I’m talking about you!—let’s share our latest writing failures.

“Hi, I’m Thomas. I’m a fourth-year PhD student. I rewrote the Introduction section of my last article 83 times.”
If you admit your writing struggles to someone else, you will likely find solidarity. But even if you don’t, at least remember that 1) writing is difficult, 2) you don’t need to be embarrassed by your writing struggles, and 3) you don’t need to be ashamed to ask for help.
4. Writing is a craft that can be learned
So, you’re a professional writer. And it turns out that writing is inherently difficult. Lovely…
But there is some good news here:
Writing is a skill. Like any skill, it has techniques. And those techniques can be learned.
Now, you probably don’t feel that way about writing. It probably feels less like a skill and more like an inherent talent—a talent that you don’t have.
When you see writing that way, you will struggle to get better at it. Writing remains this mysterious, artistic, unattainable gift. And if you don’t have that gift, the only thing you can do when you struggle to write is to throw your hands up in exasperation and tell yourself, “Oh, I’m just not good at writing.”
But is that really true? Who told you that you were bad at writing?
These questions aren’t rhetorical. Now, maybe nobody specifically told you that you had no writing talent. But if you’re like me, you grew up in a schooling system that separated numbers-people from words-people. That is, it was always clear to me that someone can be a left-brained math person, someone can be a right-brained creative person, but they can’t be both.
Don’t believe it!
Writing is no more a talent than math is. Think of your right-brained, creative friends. What do they say when confronted with arithmetic? “Oh, I’m just not good with numbers.” You probably don’t fight them on this. But you know they’re avoiding something that isn’t that difficult.
And that’s how they feel when you complain about writing!
Because those friends have had some writing training. They know that writing has fundamentals, techniques, structures, tricks; they know that learning basic writing skill isn’t that difficult.
Don’t avoid writing because you lack the “talent.” Instead, approach it like an objective skill. Like a craft that can be learned. A craft with tools that can be acquired, sharpened, and mastered.
The more of these tools you add to your toolbox, the better writer you’ll become. And you’ll solidify your belief that writing “talent” is a myth. You can learn to write. You can become as good of a writer as you want to.
5. You are responsible for your own writing training
So, if you are a writer, and writing is difficult, but it’s a skill that can indeed be learned, then the next step is obviously to find some writing training.
But if you look for that training within your university, you’ll be disappointed. Science and engineering departments give little weight to teaching graduate students how to write. You won’t find many courses. You won’t find many teachers. But if you’re lucky, you might find an occasional, poorly-attended workshop.
There are many reasons for this dearth of writing support, but here are two big ones.
First, scientific research institutions are forward-thinking. They’re all about breakthroughs, pushing boundaries, finding the cutting edge. Skills like writing fit poorly within that framework. Writing is tried-and-true, proven, classic. It has no cutting edge. No breakthroughs. So, writing training aligns poorly with your research institution’s futuristic vision.
Second—and this is a bit cynical—your PI needs your research, not your writing. Your PI needs funding to keep their research enterprise running. Yes, that does require a lot of writing—proposals, journal articles, scopes of work, etc.—but they can crank out those documents without your help. They don’t need your writing. But they do need your lab work. And even a generous PI lacks the time to train you in both.
Why am I telling you all this?
It’s certainly not to squash your newfound writing zeal, but to point that zeal in the right direction. If you want to improve your writing skill, you’ll find little help from your department. So, the responsibility of your writing training falls on you.
Luckily, there are many resources to help you. I’d suggest starting here:
Read. Start with these two wonderful books. How to Write a Lot—a lighthearted, encouraging, and practical guide on taking small steps to write more. Writing Science—a detailed account of the ins and outs of academic, scientific writing.
Write. You cannot build a skill without practicing it. So, write. Write short letters that explain your research to your grandmother. Write about the history of your academic discipline. Write a script for your next dungeons and dragons campaign. It doesn’t really matter what you write. But write something. And then go back and write it better. To show you how to write it better, I recommend Writing Tools—a practical guide that teaches fifty techniques to improve your writing skill.
Encourage. Find a few peers who also want to improve their writing skill and meet with them weekly. They don’t have to be your best friends. They don’t have to be in your department. As long as they’re committed to improving the group’s writing skill, then their support will embolden your training. At the very least, you’ll have a regular reminder that you aren’t alone.
6. Your goal is competency
Whew!
I don’t know about you, but this writing counseling session has me emotionally exhausted. It’s time to stop digging into the heart of your writing struggles and instead discuss some practical, actionable solutions.
But I see that you’re feeling a little overwhelmed.
So, let’s end this session on an encouraging note. On some truth that will soften the path ahead.
And here is that truth: You don’t have to become an amazing writer—just a competent one.
Here’s why:
And remember that you’re not an imposter.
At least not yet.
Because right now you’re surrounded by a department full of bad, too-embarrassed-to-admit-it writers. But once you’ve mastered a few writing skills you’ll start to feel abnormal. You’ll be the person who “gets” writing. The person who’s not afraid to tackle the next proposal, abstract, or journal article.
And at that point—when you look around and realize that your writing skill surpasses most of your colleagues’—that’s when you’ll feel like an imposter.
And it’s going to feel good.
Part Two
Four Techniques to Jumpstart your Writing Skill
The first step in your writing training is to learn a few techniques. Of course, you’ve already done a bit of writing. So, you have developed a few writing skills. But you’ve also developed a few bad habits—the kind of habits that take a difficult thing like writing and make it much much worse.
We need to reveal those bad habits and break them.
To keep it simple, let’s focus on four fundamental writing tools. These tools are straightforward, but powerful. They are your training’s low-hanging fruit—simple ideas that will replace your bad habits with good writing techniques.
So, let’s discuss these tools generally. Then, in the next section, we’ll use them to help you write your journal article.
Technique 1: Start with structure
One of the hardest parts about writing is starting a new manuscript. You’re sitting there, staring at a blank screen, wondering how to begin. Where do you start?
You might start by just writing words and sentences to see where it takes you. But these words easily drift into tangents. Your writing wanders around. When you go back to read it, you aren’t quite sure what you meant to say.
This directionless way of writing leads nowhere. It’s a frustrating way to write because it requires a lot of backtracking, editing, and wasted effort. And it produces a wandering article that has a difficult time staying on topic.
Then, why do we write this way? Because it mimics the way we read. When we read from start to finish, it’s all very linear: each sentence flows to the next, and the whole piece feels like a journey from point A to point B.
But a linear, point-to-point journey is a bad metaphor for how to write.
A better metaphor is building a house. In a finished house, the rooms connect seamlessly, the architectural details provide interest, the windows frame the outside world. But these small details rely on a large underlying structure. Windows sit in walls. Walls in rooms. And rooms rest on a foundation. You cannot build a house by starting with the windows—you must start with the foundation and build up.

“I’ve been working all day on this window. Where should I install it?”
Likewise, you cannot build an article by starting with the sentences. Sentences sit in paragraphs. Paragraphs in sections. And sections rest on an underlying structure. Before you write your sentences, you must develop that structure first.
Yes, I hear you groaning about how much you hate “outlining.” But that’s probably because you’ve been doing it wrong.
Most of us were taught a way of outlining that maps our article’s every little detail. Where each section has subsections, each subsection has paragraphs, and each paragraph has discussion points and citations.
This type of outlining is useless. It’s far too rigid. It produces dry, stuffy writing. And it’s ridiculous—you cannot possibly build such an organized picture of your article without attempting some first-draft writing.
There is a better way: an outline without hierarchy. A “flat” outline that provides a bit of structure to guide you, but not enough structure to be stifling.
Building this type of flat outline is straightforward:
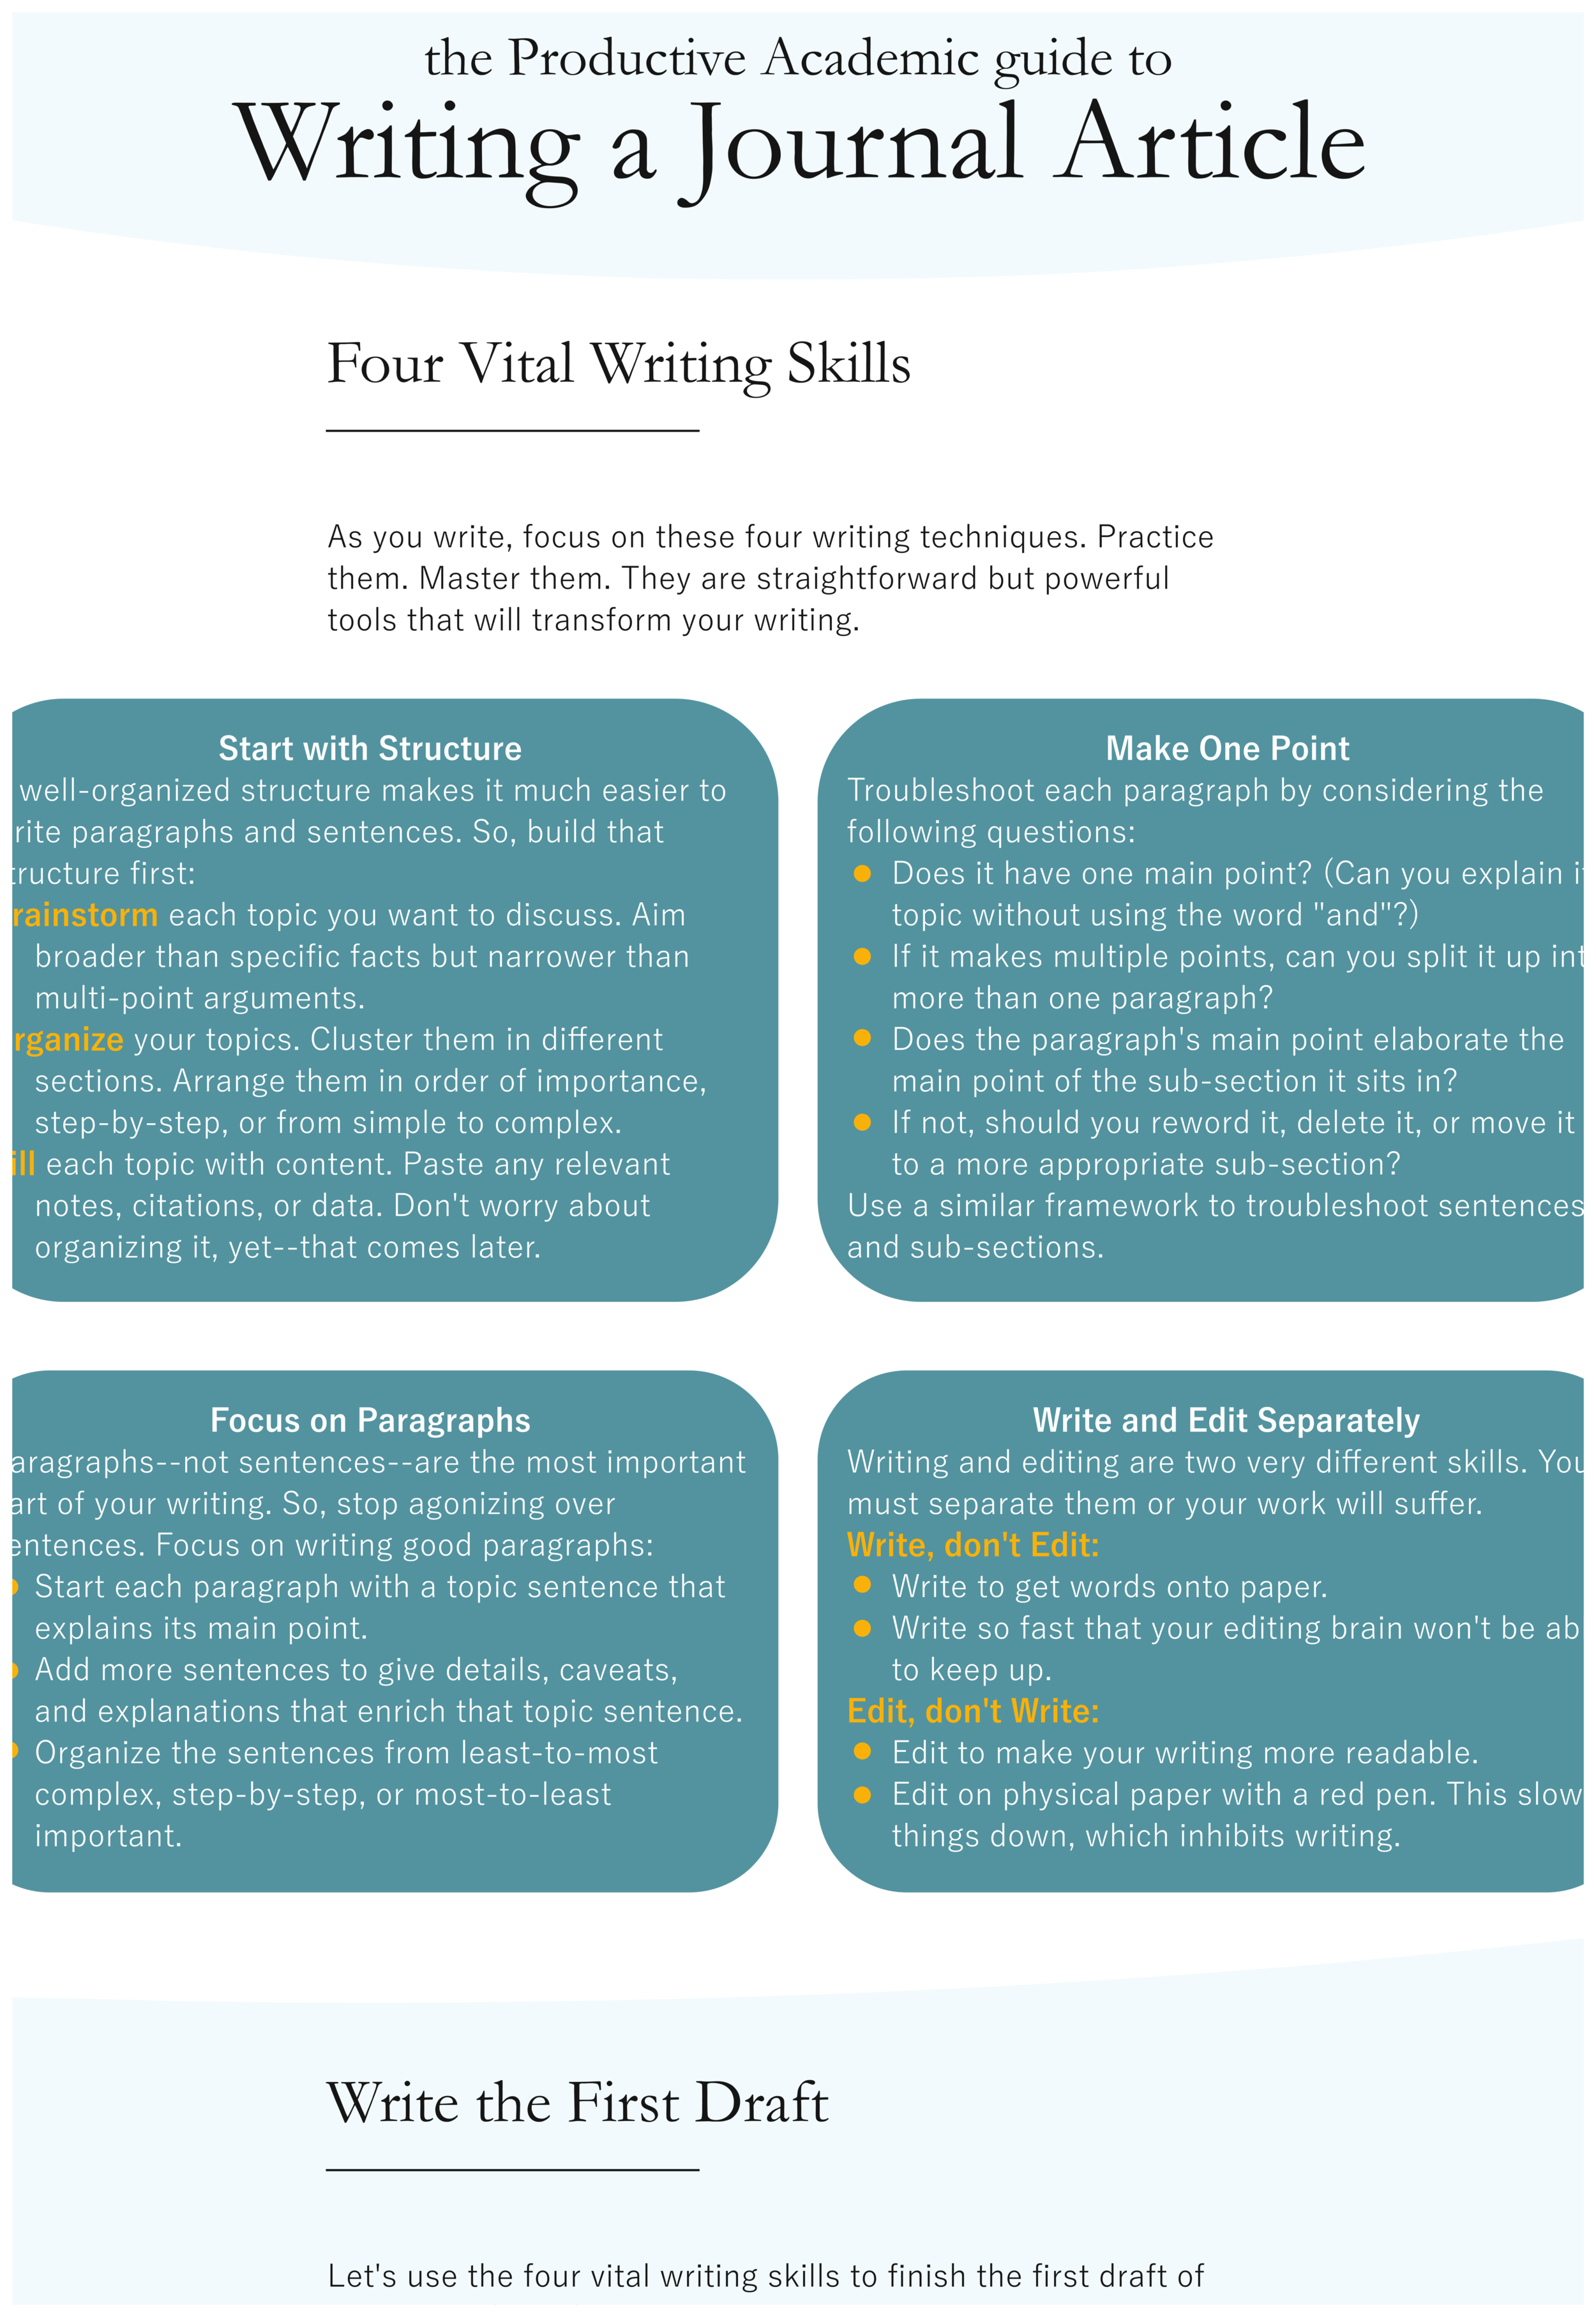
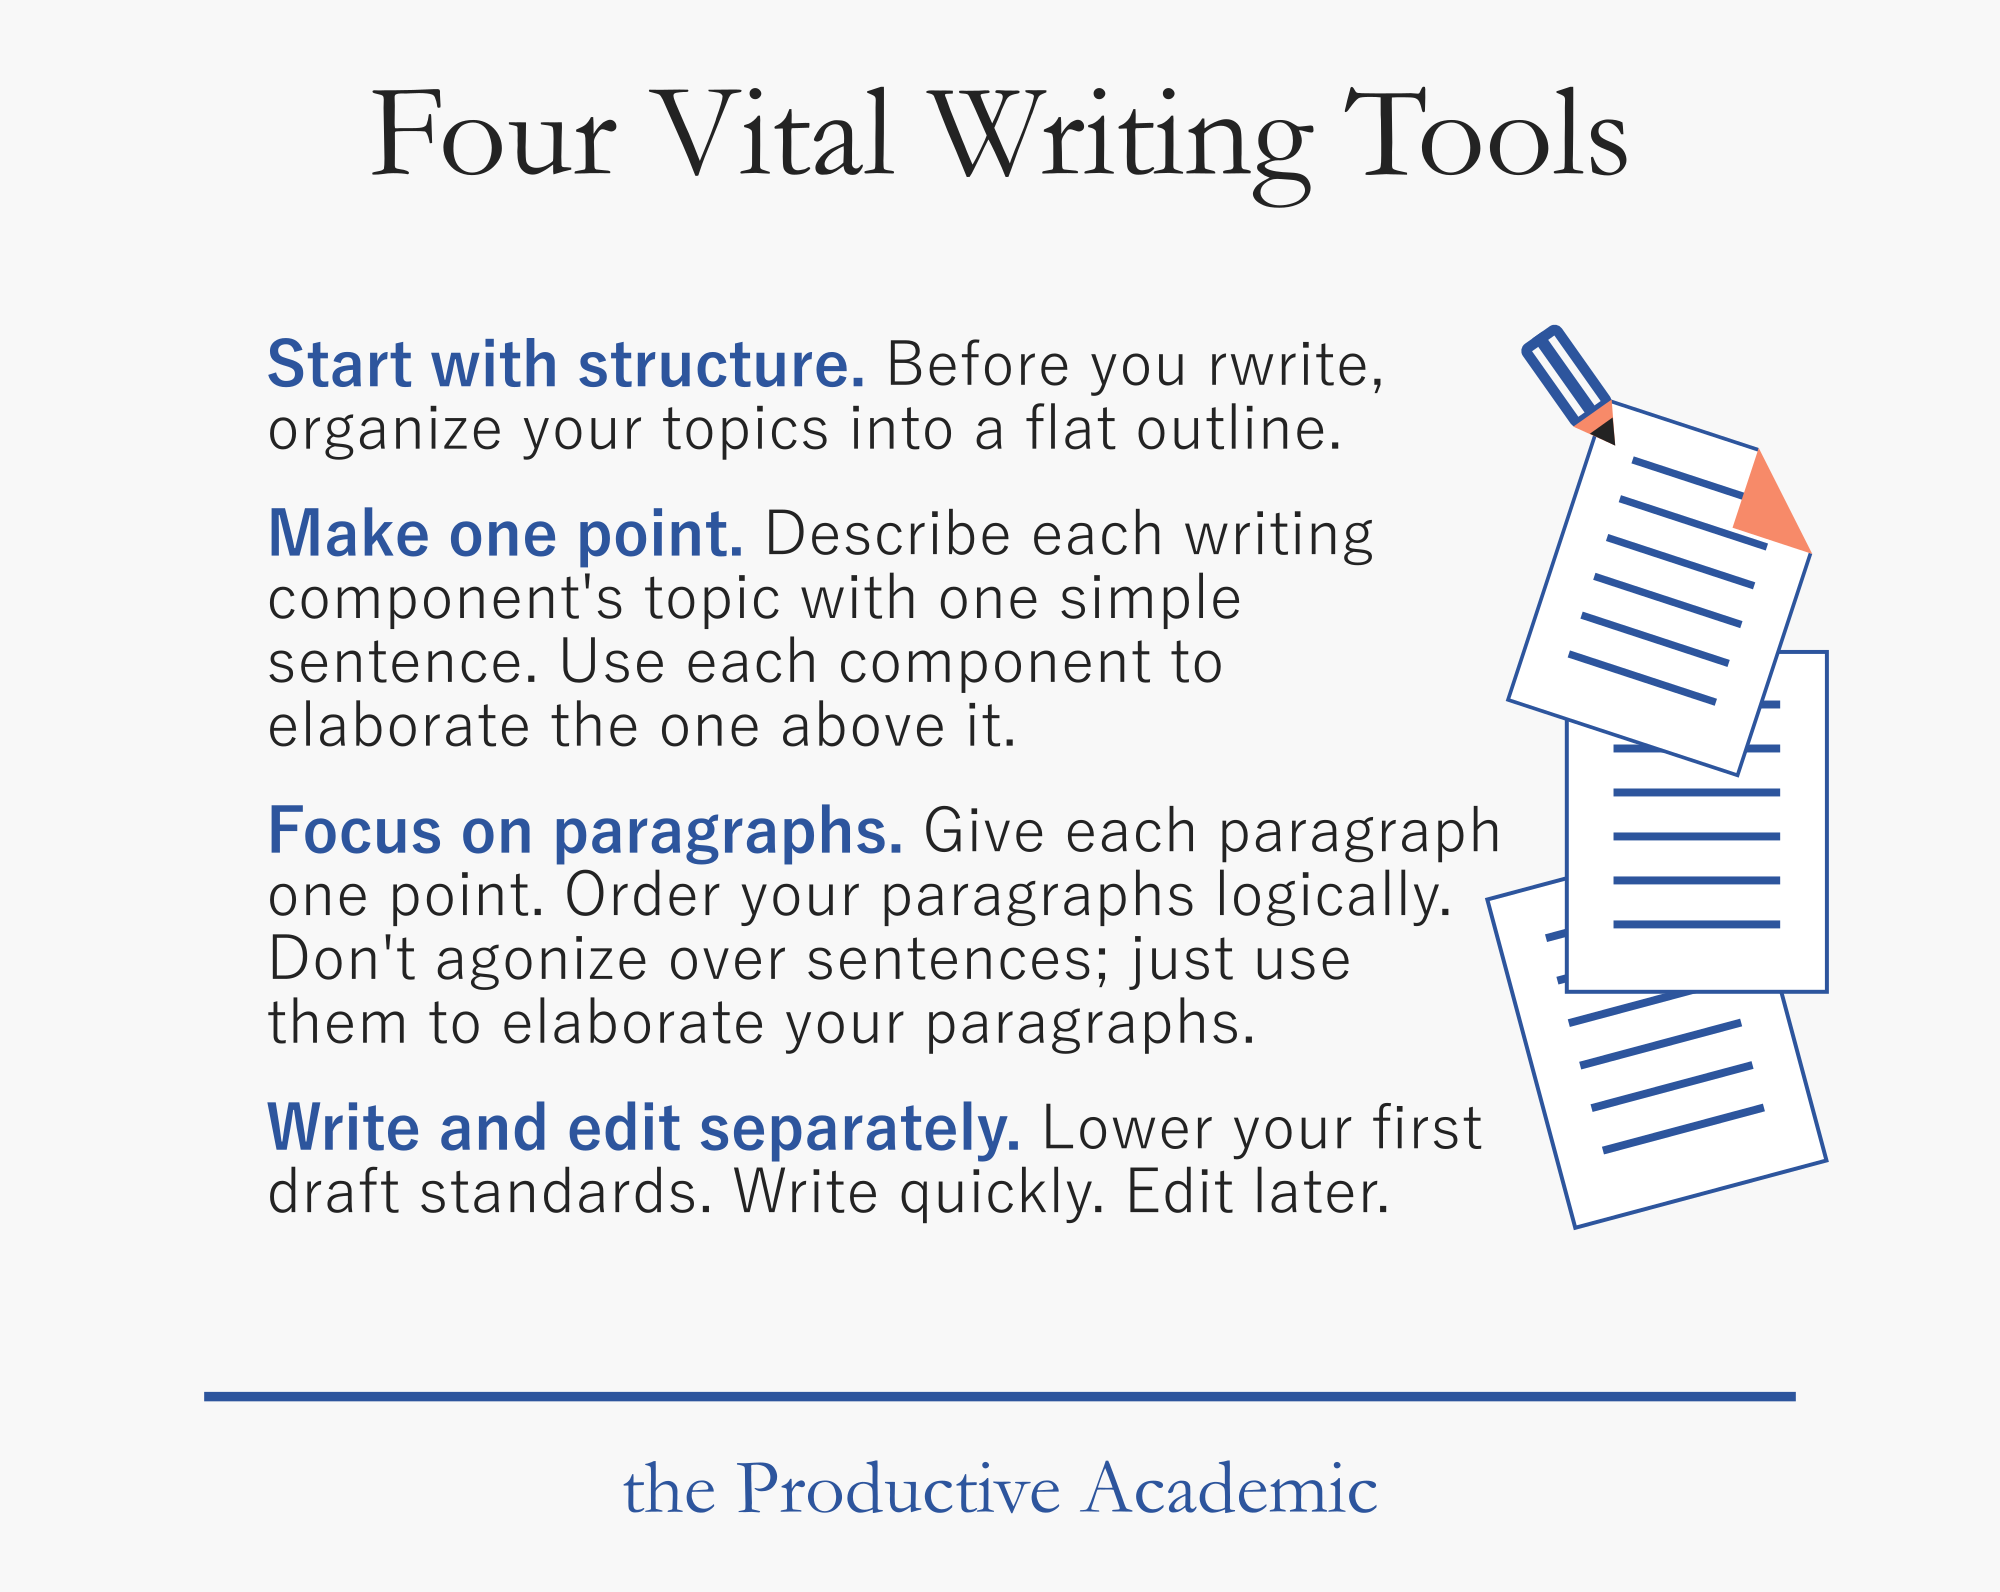
Brainstorm. Identify each topic you want to discuss. Think broader than specific facts, but narrower than multi-point arguments. If a topic sounds like a good sub-section header, then you’re on the right track.
Organize. Take your list of topics and put them in a logical order. You can cluster them into different sections. List them in order of importance. Arrange them step by step. Order them from simple to complex. Or a combination of those.
Dump. Go through each topic, and fill it with any relevant content. Dump any notes, citations, and data that will help you elaborate that topic. Don’t worry about organizing this content—we’ll get to that later.
That method produces a flat, lengthy outline—almost as long as your finished article. It provides enough organization to keep you on topic and enough flexibility to free your writing process.
So, when you do start writing, you’ll have an organized compilation of your best notes, arguments, and thoughts. Developing that content into paragraphs and sentences is much easier than starting from a blank screen.
Technique 2: Make one point
A flat outline helps with broad structure—it gives your article some topical sub-sections to build on. But without this next writing tool, you may struggle to fill that outline in; wandering text will still work its way into your article. Your arguments will still come out muddled.
We’ve introduced the idea of writing components—sections, paragraphs, sentences. And we’ve discussed how these components build on each other to create a cohesive structure. Now let’s talk about the two important things that each of these components need to be successful.
First, each writing component should make one—and only one—point.
What exactly does that mean?
Think about it this way. If someone asks you the topic of section X, you should be able to answer them with a simple sentence—a sentence without an “and” in it. If you need that “and” to describe the sub-section, then it’s making too many points. And it’s probably confusing to read.
Likewise, you should be able to describe each paragraph, each sub-section, and even your whole paper with a simple sentence.
Second, each component’s main point should elaborate the component above it. Sentences should elaborate the main point of their paragraph. Paragraphs elaborate sub-sections. Sub-sections elaborate sections. And sections elaborate the main point of the paper.
This framework makes it so much easier to write and edit. When working on a paragraph, for example, consider:
What is this paragraph’s main point?
If it makes multiple points, how can you split it into multiple paragraphs?
Does this paragraph’s main point elaborate the main point of its sub-section?
If not, should you reword it, delete it, or move it to a more appropriate sub-section?
Your paper is a group of sections that hold a group paragraphs that hold a group of sentences. Each of those components makes a unique point. And those components combine in unique ways to create the components that hold them.
When you begin to see your writing that way, your papers will become more cohesive, have better flow, and present much clearer arguments to your reader.
Technique 3: Focus on paragraphs
Although writing has many components, the most important one is the paragraph.
Does that surprise you?
It surprised me. Before my writing training, I would have guessed that sentences were more important. At least, that’s what my writing focused on—getting my sentences to read perfectly.
But focusing on sentences makes the writing process more painful. You agonize over your wording. You rewrite each sentence multiple times until it sounds just right. And your paragraphs become a loose collection of phrases rather than a focused array of sentences.
A writer agonizing over sentences is a like a painter agonizing over individual brush strokes. Of course, the brush strokes matter. But we don’t admire a painting for its brushstrokes. We admire the larger compositions that a combination of strokes creates. In the closeup of Van Gogh’s Starry Night below, for example, the individual strokes could have been a bit longer, a bit wider, a bit darker, without ruining the composition. It’s the stars, swirls, and shapes that matter.

The imperfect brush strokes of Starry Night.
Likewise, a sentence won’t ruin a paragraph if it uses slightly different words, orders, or structures. So, don’t agonize over those things.
Instead, focus on writing good paragraphs:
Give each paragraph one main point. Describe that point with a topic sentence. Place that topic sentence at the paragraph’s beginning.
Elaborate the paragraph’s main point with more sentences. Use those sentences to provide details, caveats, processes, and explanations that enrich the paragraph’s topic sentence.
Organize the paragraph’s sentences logically. From least-to-most complex, step-by-step, or most-to-least important. Put the sentence in an order that will make sense to the reader.
A manuscript full of these types of paragraphs will flow well and read clearly. And it will survive a poorly-written sentence here and there.
Technique 4: Write and edit separately
In this final piece of training, let’s pivot from talking about structure and instead talk about habits.
Tell me if this sounds familiar.
You’re start a new sentence. You get halfway through. Then you realize how much you hate it. So, you delete the sentence and start again. And a few minutes later, although you’ve done a lot of “writing,” you still don’t have any sentences to show for it.
Writing this way wastes time. And it makes you feel like you have no idea what you’re doing.
The good news is that you don’t know what you’re doing! Er, what I mean is that you’re doing it wrong! Well, maybe there’s no nice way to say it. The point is that there is better way, and it you can learn it by understanding these two truths:
Truth 1: Writing and editing are different skills.
Writing uses concepts to turn your abstract thoughts into concrete words. Editing uses processes to refine those words into a readable manuscript.
These are very different skills, and when you do them at the same time—when you write and rewrite sentences over and over to make them perfect—you switch your brain from task to task, and you end up doing both of them poorly.
Write with the goal of getting words onto paper.
Edit with the goal of making those words more readable.
Truth 2: You’re being too critical of your first draft.
The problem is that writing without simultaneously editing is extremely difficult.
Why? Because you’re being too critical.
It’s very difficult to put words onto paper without instantly critiquing them. The problem is that as you write, you also read the words you just wrote. And since those words haven’t been edited yet, they read poorly.
Now, I didn’t say you need to lower your writing standards. But you must realize that high standards apply to the finished, edited manuscript—not to the first draft. So, lower your expectations of your first draft quality, or you’ll continue to battle yourself as you try to get words onto the page.
Here are two things that can help you lower those first draft standards:
Promise yourself that nobody will ever read your first drafts. Those early words are for your eyes only. And when you keep that commitment, it releases some pressure to make those first words perfect.
Write fast. Write so fast that you can barely read what’s shooting onto the page. When you write this fast, your words might get a little long-winded, jumbled, and misspelled. But the speed will help you disengage your editing brain, because it won’t be able to keep up.
So separate your writing and editing processes. When you write, you’ll get better ideas on paper. When you edit, you’ll produce a higher quality manuscript. And you’ll be much less frustrated with the whole process.
Part Three
A step-by-step guide to write and edit your journal article
Well, it took us a while to get here, didn’t it? To the reason you opened this article in the first place: How to write and edit a journal article.
But I hope you see now that your struggle to write a journal article is merely a smaller version of your struggle to write. You cannot effectively write a journal article until you’ve dealt with your writing inhibitions and learned a few basic tools.
Well, that’s all behind us now.
And I have some good news for you. Relatively speaking, journal articles are fairly straightforward to write.
Why?
First, they have a common structure. Most science and engineering articles follow some version of Introduction, Methods, and Results & Discussion (or IMRaD). And most articles put the same pieces of information in the same places of those sections. That means you already have a basic outline structure to build your article on.
Second, they use formal language. Scientific journal articles don’t need creative, metaphorical, engaging prose. Your readers don’t expect it. Your reviewers might even reject it. And that’s just fine, because the unambiguous language that your audience expects is much easier to write than any literary masterpiece.
Ultimately, this means that much of the creative process has been done for you. You just need to produce some quality research, fit it within the IMRaD structure, and describe it with concise and readable language.
And there’s another benefit. Since journal articles are somewhat formulaic, I can give you a detailed step-by-step guide on how to write them.
Now, here’s my disclaimer: different disciplines use slightly different journal article conventions. If I suggest something outside of your discipline’s norm, then ignore my suggestion. Otherwise, the plan below will guide you to complete a well-written piece of academic writing.
So, without further ado, here it is: The journal article writing roadmap
Actually, here’s one ado. I guess It wouldn’t hurt to preface with some instructions. Most of the reading ahead is prescriptive: it tells you a bunch of things to do. So, do those things. And do them in order, start-to-finish, step-by-step. Each step builds on the last one, and I assume you finish each step before moving on.
Okay, here’s one more ado. I also assume that you’ve done your literature review, finished your experiment, and visualized the results. If you haven’t done, here are some articles to help you finish those. But if you already have, then let’s get cracking!
So, really without further ado:
The Journal Article Writing Roadmap
To create your journal article, you will outline, then write, then edit. Outlining combines your literature review, experiment procedure, and visualizations into a broad project outline and then a tighter paragraph outline. Writing fills that paragraph outline with poorly-written sentences. And editing refines those sentences into a readable manuscript.
Step 1. Outline the project
The first step in writing your journal article is to create a project outline. The goal here is to organize your article’s sub-sections and jot a few notes about their main topics. Here’s a template to show what I mean:
If that sounds daunting, don’t worry. You’re just compiling work you’ve already done—literature review notes, experiment procedure, and visualizations—while also answering a few questions.
Start with the Methods
This part’s easy. It’s just a shortened version of your experiment procedure.
First create a sub-section for each of your experiment’s stages. What do I mean by experiment stage? I mean each distinct step that took you from preparing your experiment to processing its output. As an example:
For a laboratory experiment: sample collection, randomization, apparatus, and procedure
For a computational model: data curation, model development, scenario analysis, and statistical analysis
You get the idea. Each of these stages deserves its own Methods’ sub-section.
For each stage, you should describe 1) what actions you took in that stage, and 2) what data those actions produced. Often, the output data from one stage will be the input data of the next.
Then, using your literature review notes, cite any publications that support your choice of that particular methods stage.
Jump back the Introduction
This part’s a little harder.
Start by motivating your project. Or, you know what—let’s start by motivating you. You’re a smart person and a blossoming writer. You’re going to do a fantastic job with this article!
Now, motivate your project. Consider how—if you project advances your field and your field continues to mature—the world would become a better place. For inspiration, browse your literature review notes and paste any articles’ motivations that inspire your project. Then use those notes to build your own argument for how your project improves society. Ask yourself what niche research topics your project might open up, what interdisciplinary connections it might forge, how it might impact technology, or how it might inform policy.
Next, frame your research gap. See my literature review article for detailed instructions, but here’s a quick summary:
As you read the literature, you should end each reading with a critique. What was good about the article? What questions did you have? Where did the article fall short? How would you improve it?
The answers to those types of questions help you identify each article’s shortcomings. And after critiquing many articles, you’ll begin to notice trends—shortcomings that you continue to see across multiple articles. These common shortcomings reveal a sweeping gap in the literature—a weakness. And after reviewing enough literature, you’ll identify a few of these weaknesses and understand how your project will fix them.
Start with those weaknesses. For each one, summarize the weakness, describe a research area where that weakness is evident, and cite specific articles that exhibit the weakness.
Then combine those weaknesses to describe a broader limitation of the literature—i.e., your research gap. How do these literature weaknesses accentuate each other? undermine each other? overlap? What research gap do these weaknesses reveal together that none of them reveal alone?
Finally, define that research gap. Describe how it weakens the literature. And predict how filling that gap would benefit your research field.
Finally, with that research gap in mind, identify your project’s research question. Simply put, the research question is an inquiry whose answer will fill the research gap. A research question doesn’t need to be complex; in fact, simpler is often better. But its answer must fill the research gap. And its outcomes must align with your Introduction’s motivation.
Write down that research question. Add any related questions that help to add context. Cite any articles with similar research questions. And finish by describing how your research question answers the research gap.
Move on to the Results & Discussion
In this part, you’ll simply use the figures you generated from your experiment and write them up as findings.
For each figure you created in the visualization phase, write a sentence that describes its main takeaway.
Then choose the sentence/figure that best answers your research question. That sentence/figure reveals your project’s main finding. Give that finding a sub-section at the beginning of the Results & Discussion.
Then choose a few more sentences/figures that elaborate the main finding with caveats, sensitivities, background data, illustrative case studies, or other useful context. These are your supplementary findings. Give each one its own sub-section.
Finally, in each of these sub-sections, use your literature review notes to cite articles with relevant results that you can compare your findings against.
That’s it!
Your project outline is done. It’s a pretty messy outline. But it lays a groundwork of questions, thoughts, figures, citations, and notes that you can mold into something more detailed. The next section describes how.
Step 2. Outline the paragraphs
With your article’s structure in place, it’s time to fill that structure with detail by outlining your paragraphs. The goal here is to create a list of topic sentences for each sub-section. Later on, those topic sentences will become the paragraphs of your first draft.
Yes, I can feel your anxiety welling up.
Take a deep breath.
Remember, you’re a professional writer. You just need to remember your tools: build a good structure, give each paragraph one main point, focus on paragraphs instead of sentences, and concentrate on outlining—don’t do any writing or editing yet. You’ve got this!
Here’s the goal: for each of your project outline’s sub-sections, identify the main point, and create a list of paragraph topic sentences to elaborate that main point. Then, organize those topic sentences into a meaningful order. Finally, add a few notes under each paragraph topic sentence about the details you’ll use to elaborate it.
Of course, that sounds simpler than it is. Or maybe it doesn’t sound simple at all. Regardless, I’ve put together a few tools to help you get the outlining process going:
Your project outline, which already organizes your sub-sections and gives you notes and citations to build your paragraphs around.
My article on the sections of a scientific journal article, which describes each article section’s purpose and some tips for writing it.
This very-detailed paragraph-level template, which organizes a typical journal article into 31 different paragraph types. But be careful how you use it—it’s written for a broad science and engineering audience, so it may contain paragraphs here and there that break your particular research discipline’s conventions. Check the literature for your discipline’s norms.
This less-detailed section-level template—in case you want a template with a bit more freedom. This template organizes a typical journal article into 11 sub-sections. Then it gives a few ideas for each sub-section’s paragraph topic sentences.
Those tools will help you create some paragraph topics that enrich your project outline. The result is your paragraph outline. This paragraph outline should still be relatively “flat”—i.e., without much hierarchy—but it will have enough detail to jumpstart your writing.
Step 3. Write the sentences
Well, now you’ve made it to the scary part! It’s time to add sentences.
But that shouldn’t seem so scary now.
You’ve built a robust paragraph outline. All you need to do now is work through each paragraph, consider its topic and notes, and add a few sentences to elaborate.
I think it helps to work with your paragraph outline and take it one paragraph at a time.
First, look at the paragraph’s notes. Then talk out loud to yourself—consider how you would explain this idea in front of an audience. This exercise helps you wrap your brain around the talking points.
Second, rewrite the paragraph from scratch. Start by writing the topic sentence. Then add more sentences to develop the topic further—to explain it in more detail to your audience.
That sounds too straightforward, doesn’t it? But when you build your paper from a strong outline, the actual sentence-writing part flows more easily. So don’t overthink it. Don’t make this part harder than it ought to be.
Remember your writing tools:
Give each sentence one point. Use each sentence to elaborate its paragraph.
Write, don’t edit. Get your thoughts into words, write quickly, and embrace low-quality sentences. The outcome will be a poorly-written mess. But nobody else need read it until you’ve cleaned it up with some good editing.
Step 4. Edit the draft
Congratulations, you’ve completed your First Draft! It may read like the ramblings of a madman, but it has all the structure, paragraphs, and sentences it needs to explain your research project.
Now, you must shift your mindset from writer to editor and refine those ramblings into something your audience will enjoy reading.
To edit, you’ll read through the article multiple times, using each readthrough to correct a specific issue.
Readthrough 1: check the story’s structure
In the first readthrough, you’ll check the article’s broad structure. You want to make sure that the most important information—the research question, conclusions, experiment, and references—all agree.
Here’s what you’re looking for:
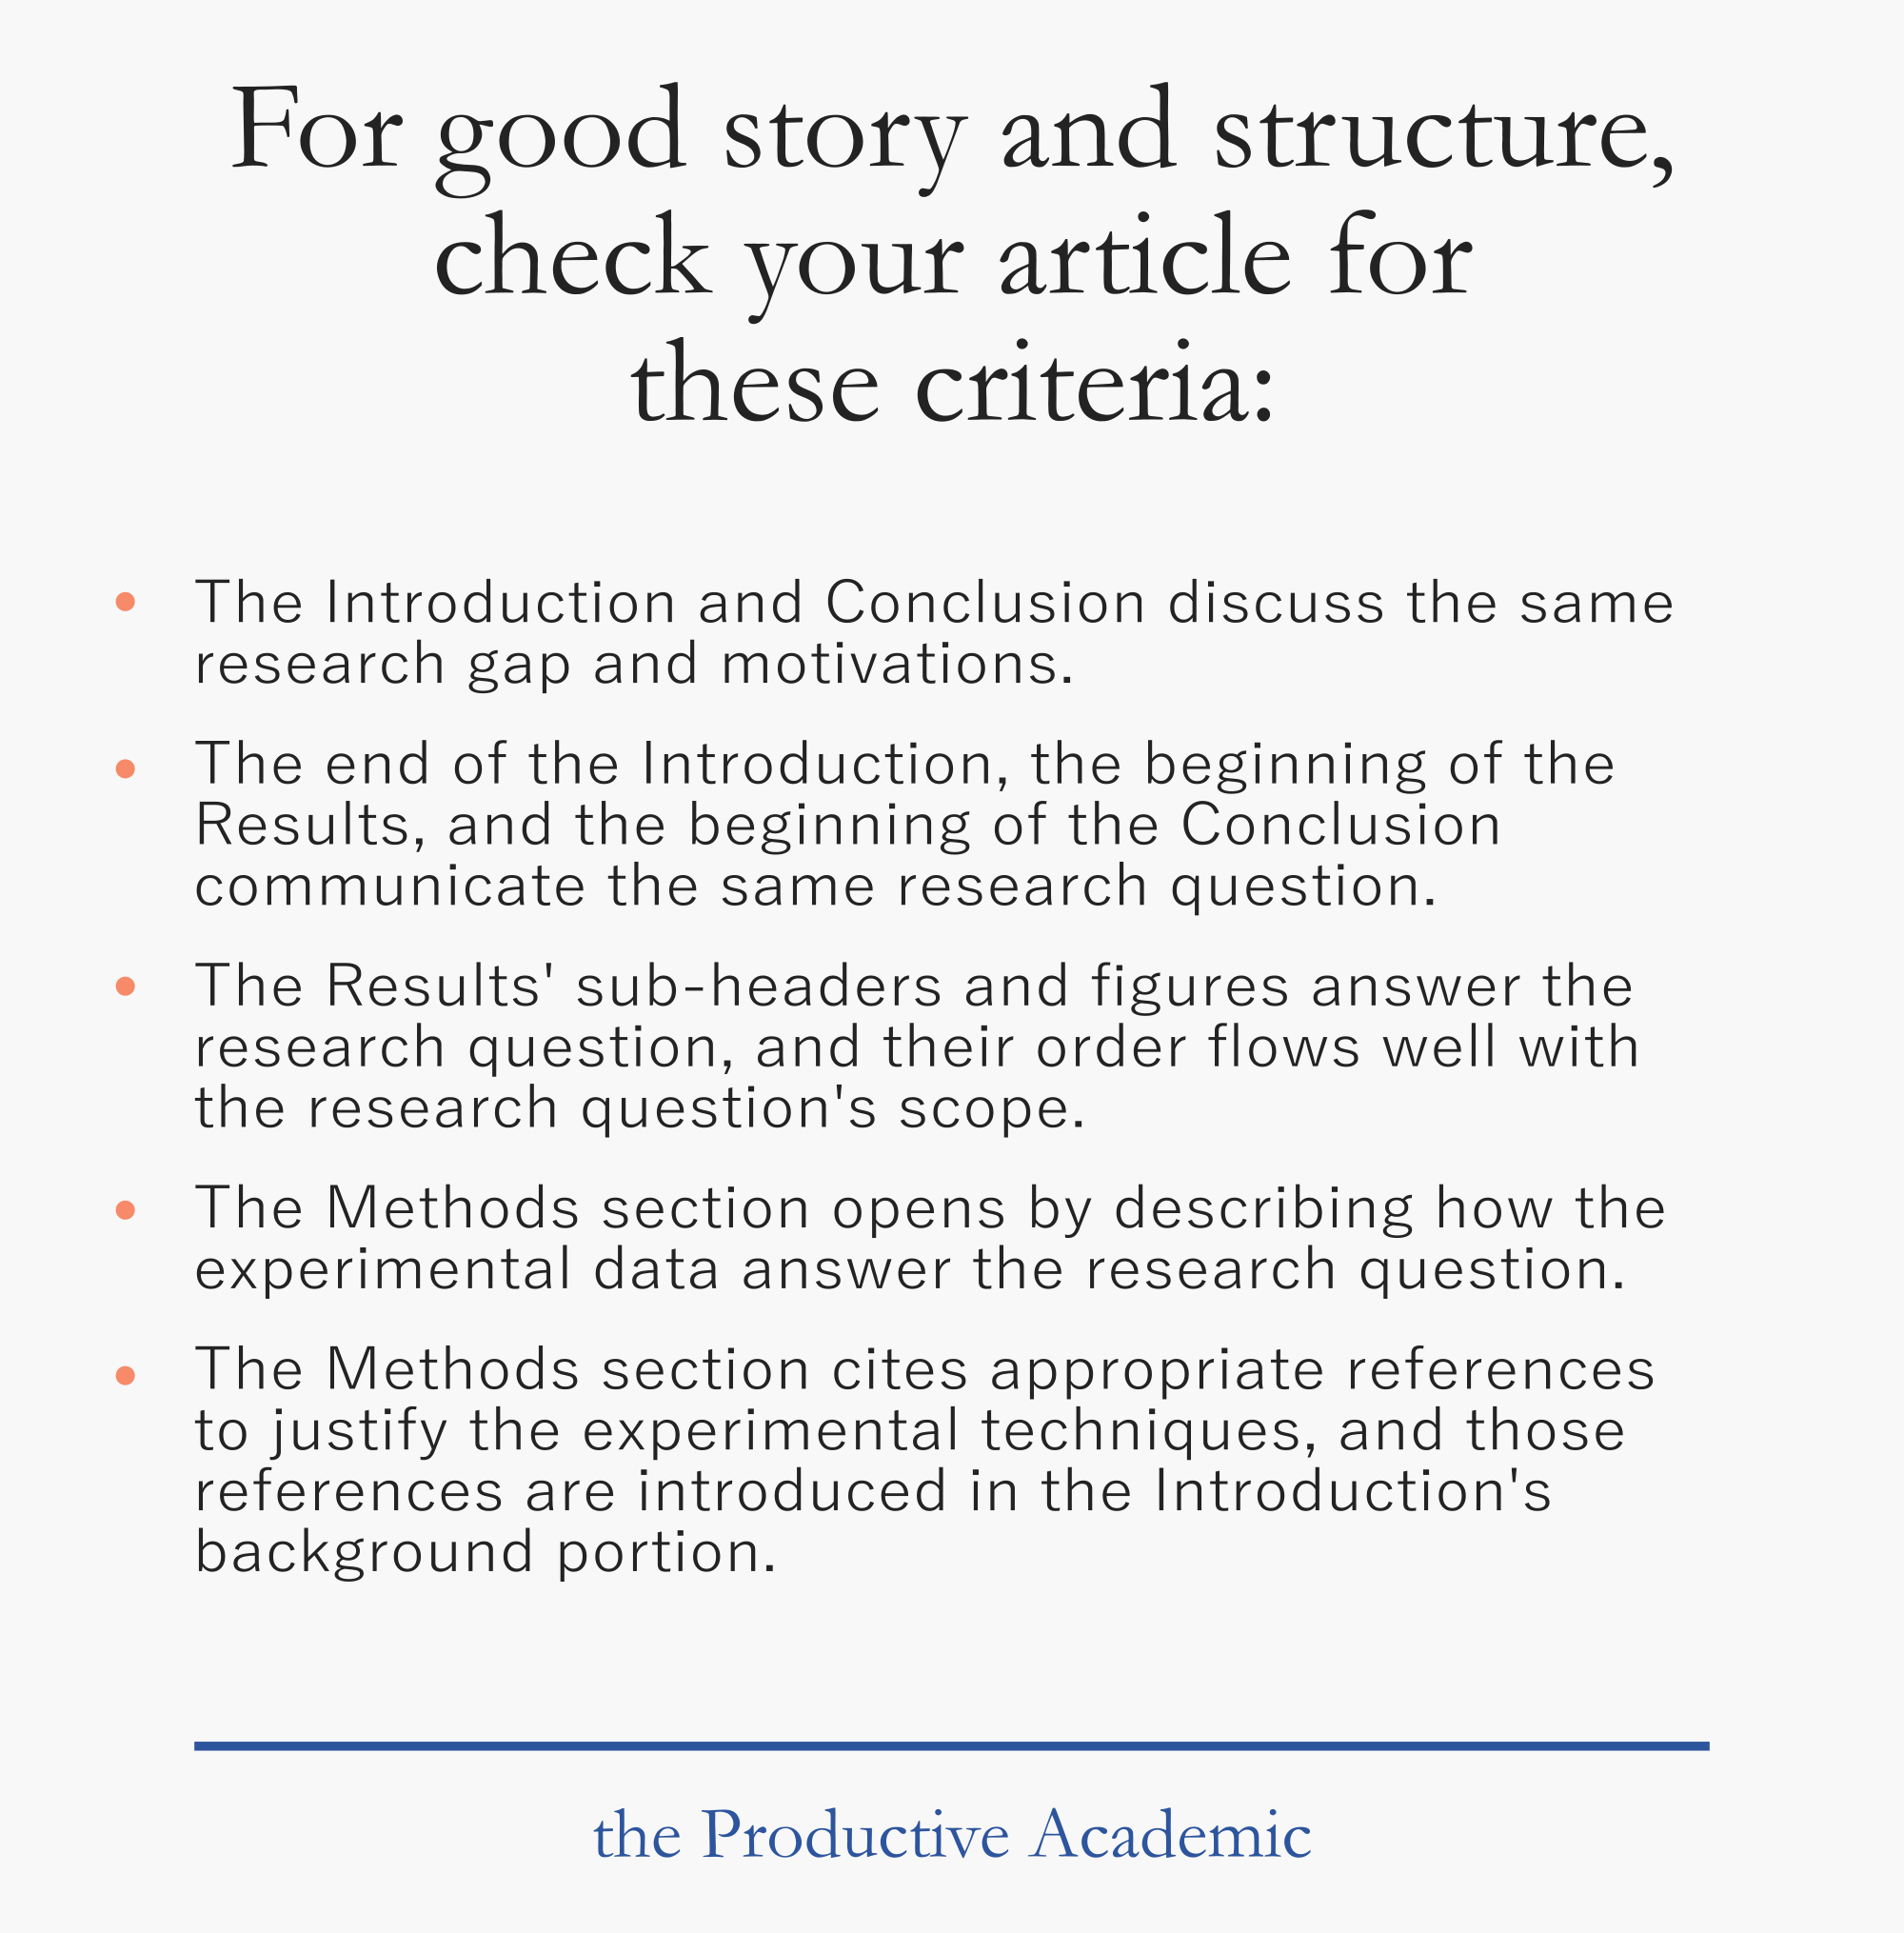
So, scan your article’s sections for those objectives. Reword sub-headers, shift their locations, and reorganize paragraphs until you can check those criteria off.
Readthrough 2: check the sections’ paragraphs
In this readthrough, you’ll check that the paragraphs sit in the appropriate sub-section and that their order makes sense.
To begin, skim the manuscript and underline each paragraph’s topic sentence—the sentence that best captures the paragraph’s main point. If a paragraph makes two points, split the paragraph in two. If a paragraph’s main point is unclear, delete the paragraph, or give it a stronger topic sentence.
Then, read each sub-section independently, but read only the underlined paragraph topic sentences—i.e., ignore the other sentences for now.
When you read only the paragraph topic sentences, does the sub-section make sense? Rewrite paragraph topic sentences, relocate paragraphs, and delete or create paragraphs until each paragraph is in the right sub-section and the paragraphs’ order makes sense.
Readthrough 3: check paragraphs’ sentences
In this readthrough, you’ll check that each sentence sits in the appropriate paragraph and that the sentences’ order makes sense.
Read each paragraph independently. Do the paragraph’s sentences add useful details that elaborate the topic sentence? Fix any off-topic sentences by deleting them, moving them to an on-topic paragraph, or using them as the topic sentence of a new paragraph.
Readthrough 4: check the sentences’ words
In this readthrough, you’ll cleanse your article of its common writing errors. To do this, you’ll simply search for a particular phrase, word, or punctuation error and then fix it.
Lucky for you, I’ve compiled this checklist of errors that you can look for! You don’t need to correct every single error. But if you notice recurring mistakes in your writing, take note. Give them special attention. And improve your writing craft by familiarizing yourself with how to correct your common mistakes.
Readthrough 5: read it out loud
Your Second Draft is shaping up nicely. It has a strong structure, good flow, and sentences that support their paragraph’s topic.
Before you hand it off to your co-authors for feedback, though, let’s give it one last look and check its overall readability.
Read the manuscript through once more—only this time read it out loud. When you read out loud, you will find issues that you would otherwise miss. Your tongue will stumble over awkward sentences, typos, and poor wording that your eyes will overlook.
When you find these tongue-stumbling hurdles, highlight them. Then, after you’ve finish reading, go back and current those mistakes.
Repeat this process until you can smoothly read the manuscript aloud. Then your editing work is done.
Step 5. Send it to your co-authors
And now, it’s time to send a copy to your co-authors for feedback.
What’s that? You think the article could still be improved, so you want to edit it one more time? Oh, you want to edit it ten more times…
Oh, I understand. This hesitancy is totally normal.
At this point—with a cohesive, readable, organized draft in hand—we’re always tempted to edit a few times more. We’re anxious about handing our work to co-authors, our supervisor, and peer reviewers. We worry that anything less than perfect will reflect poorly on our work and impact how these people perceive us.
But, this perfectionism—this hesitancy to subject our work to criticism—eventually breeds defensiveness, anxiety, and burnout. To avoid those outcomes, we must lower those perfect standards. We must content ourselves with handing our co-authors a high-quality-but-imperfect draft.
Here are three truths to help you accept that imperfection:

These truths give you freedom to lower your individual writing standards. And ironically, lowering these standards helps you produce your best work. Perfectionism breeds a defensiveness that makes you dismiss your colleagues’ feedback. But by lowering your standards, you can recognize your need for help, and you can embrace the feedback that will ultimately lift your journal article’s quality.
By following the outlining, writing, editing process above, you can feel confident that this early draft of your article is a good one. It isn’t perfect, but it’s good enough to send it along to your peers for review.
resources I used to write this article
online articles:
50 Inspiring Quotes About Writing from the World's Greatest Authors by Glenn Leibowicz
How to Use a Flat Outline to Write Outstanding Papers, Fast by Cal Newport
How to get started with writing papers by Tress Academic
books:
Writing Tools: 55 Essential Strategies for Every Writer by Roy Peter Clark
Published by Thomas Deetjen
How to Write a Scientific Paper by Jari Saramäki
Writing Science by Joshua Schimel
Write it Up by Paul J. Silvia