October 1st, 2018 | Updated on March 23rd, 2024
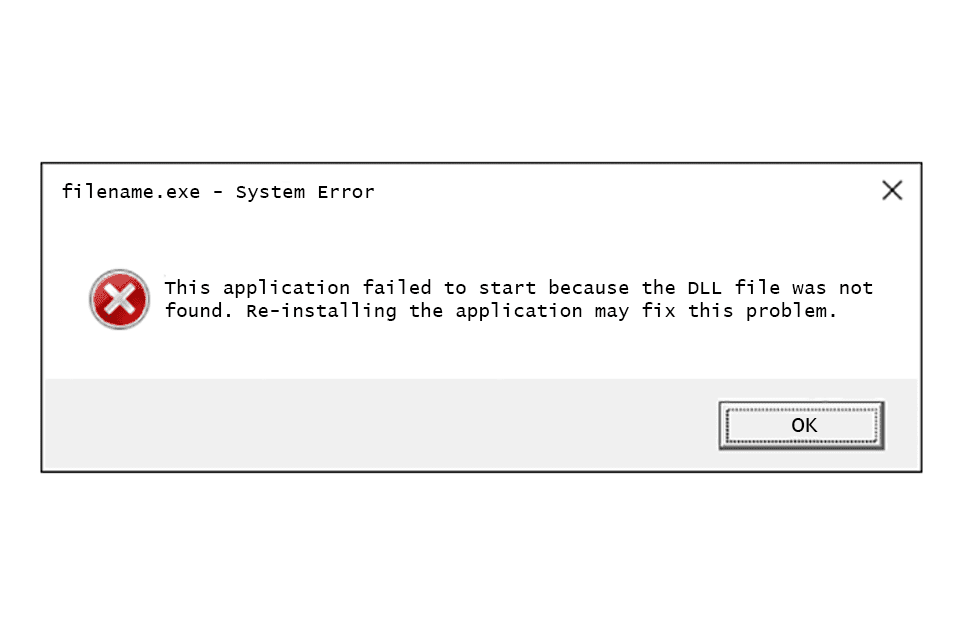
Missing DLL file errors are quite widespread issues users confront while trying to run applications on their Windows machines.
DLLs, or Dynamic Link Libraries, are an essential external component such popular applications as WordPress, Skype, various online games, Autodesk, and even Microsoft Office use to operate properly.

If you have happened to confront a message warning you of the inability to run a particular program due to the missing DLL file, try the following options to fix the problem.
System Files Checker and How Use It to Solve a DLL Problem
The first option definitely worth being tried for fixing the missing DLL file error is to run your System File Checker across your Windows system.
This magic program built in your OS is capable of scanning the available files, detecting corrupted or removed files and replacing them with their new versions.
To launch the Checker, Windows 10 users should hit the “Start” button and go to the WinX Menu. After that, it’s necessary to click on the Command Prompt link.
Your next step will be typing the following command into the Windows command line:
sfc / scannow.
Once you are done, press Enter and wait for 5 to 15 minutes until the scan process is over.
Don’t forget to reboot your machine upon the completion of scanning.
You can avail yourself of another command, which is sfc / scannow in Safe Mode of BootTime. This option can help you in case sfc / scannow hasn’t been effective. By using the former command you will be able to run your Checker and SFC in a safe mode or at boot-time.
Furthermore, we suggest running DISM for repairing the System Image. To do it, open the command window and type in the following into the corresponding line: DISM /Online /Cleanup Image /Restorehealth.
Press the “Enter” button, as usual.
Again, it will be necessary to wait for some time and once the process is successfully complete, you can restart the PC.
Pay attention! In case the suggested solutions seem to be somewhat like performing a brain surgery, you can visit the Wikidll.com website that can solve any DLL missing file error.
Whether you are tinkering with VCRUNTIME140 or attempting to fix the missing api-ms-win-crt-runtime-l1-1-0.dll file error, go take advantage of the professional help amicably offered by the Wikidll team.
Re-installing the Problem Software
If you have tried everything, but still end up seeing the system error message, try reinstalling the application or software throwing this error.
To do it, go to the Control Panel and reboot your comp.
After that, you will be required to get the latest file from the Microsoft official website. Download the necessary file and follow the on-screen instructions to complete the installation process. Note that all the files will be automatically placed on your computer by the installer.
- The program may ask you whether you would like to try repairing the program. In such a case, we recommend skipping the “Repair” option and trying fixing the installation, first. After that, you are free to repair the program.
Recovering Missing DLL Files

If you are installing the latest version of a certain program, you should know that the program may prompt you to get some specific version of a DLL file for accessing the necessary content.
If you find yourself in such a situation, try copying the requested DLL file from another system and paste it into the proper folder. Then, check if the problem persists.
It is also possible that you will be asked to re-register the files to get the issue fixed.